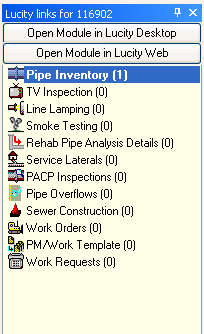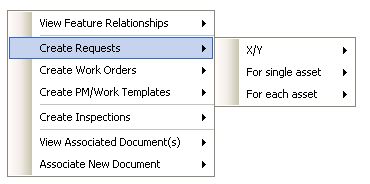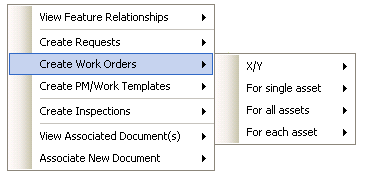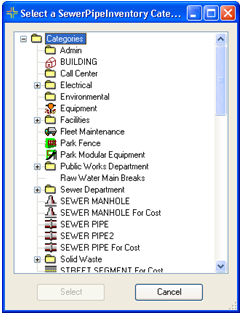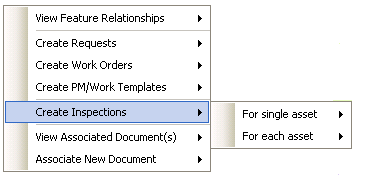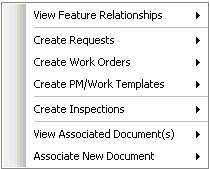
The Lucity Module tool allows users to click on a feature(s) in the map and view all its related records in Lucity. It also allows users to create Work Orders, Requests, and Inspections inside of Lucity, based on a feature in the map. Using this tool requires that a feature class that is connected to Lucity must be in the map. After selecting the tool and right-clicking in the map, a menu will appear with the following options:
View Feature Relationships |
Allows users to view any Lucity records related to one or more features in the map. |
|
Create Requests |
Creates a request for a feature. It can also create separate requests, one for each selected feature. |
|
Create Work Orders |
Creates a work order for one or more selected features. It can also create separate work orders for each selected feature. |
|
Create PM/Work Templates |
Creates a PM/Work Template for one or more selected features. It can also create separate PM/templates for each selected feature. |
|
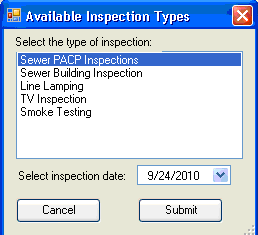
Create Inspections |
Creates one inspection for each selected feature. |
|
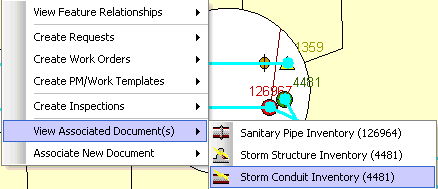
View Associated Document(s) |
Allows users to view documents attached to the selected asset(s). |
|
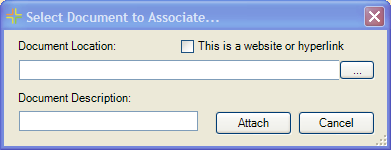
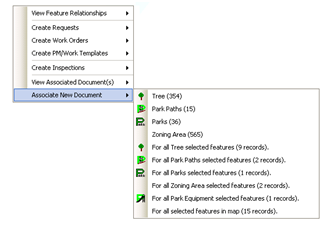
Associate New Document |
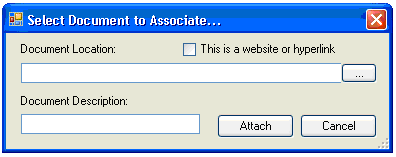
Gives users the ability to attach documents to one or more features in the map. |
|
|
|
How To Use the Lucity Module tool
Note: The Lucity Module tool uses a default search tolerance of 7 map units to obtain a list of features at the location of the mouse-click. The default tolerance can be changed using the settings button on the Lucity Edit toolbar. This value can also be modified for this map session by pressing Shift + F7 when the desktop Module tool is active. For more information about modifying this search tolerance go here.
Note: To work with multiple features, use the Lucity Module tool to select several features and then right-click anywhere in the map.