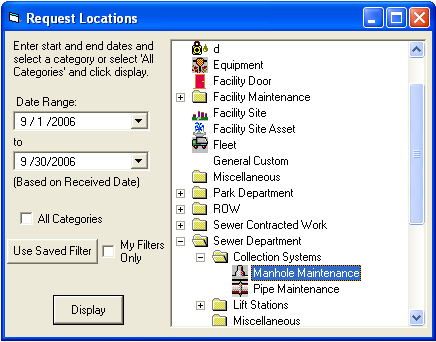
Hint: If you do not select a category, the system automatically queries all categories, so it is not required that you check this box.
Note: Advanced filters are currently not supported with this tool.
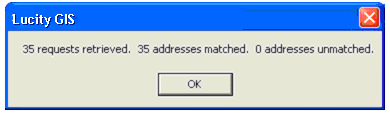

- The tool will attempt to map all work request locations for all requests that meet your selected criteria. Features that weren't able to be spatially represented will still be added to the layer, but will have a value of 0 in the InMap field.
- The Count field is used to show the number of requests with a specific address.
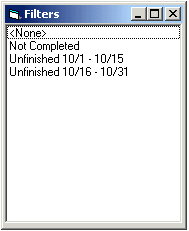
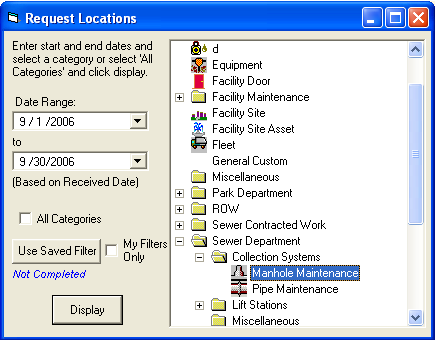
Notes: Start and End Date are the only required selection criteria. If you select a category, the system will filter for all work orders within the system where Category = [The Category you selected] and the request received date is between the start and end date you specified. If you select a saved filter, the system will find all work orders that meet the selection criteria for the saved filter and where the received date is between the start and end date you specified.
The start and end dates are inclusive; the system will find all requests whose received dates are greater than or equal to the start date you specified, and are less than or equal to the end date you specified.
The Work Request Locations tool plots locations in the map in the following order: (1) By looking for the associated asset; (2) If no asset is found or if one is not associated with the Request, then the tool looks at the X/Y coordinates; and (3) If no asset or X/Y coordinate is associated with the Request, the tool geocodes the Request location address.
This tool uses the first geocoding service loaded into the map you are using to plot address information. This can be done by going to
Tools > Geocoding > Geocoding Services Manager.