The Desktop install/upgrade can occur multiple times at any Desktop. Installation instructions may vary slightly depending on which database you are using (SQL Server or Oracle). We recommend that you close all Windows applications before running the Lucity software setup.
General Requirements
For a list of general hardware and software requirements go here.
The Server Install must be completed prior to the Desktop Install.
How To
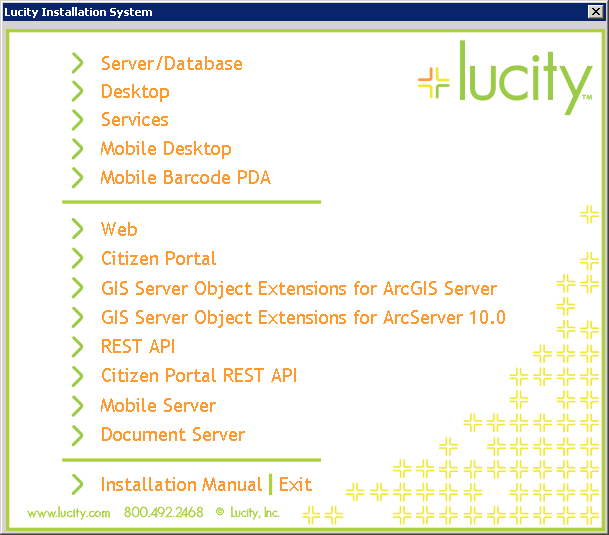
Open the Lucity install media and run Setup.exe, the following screen will appear:
Select the Desktop option on the menu. The following window will appear:
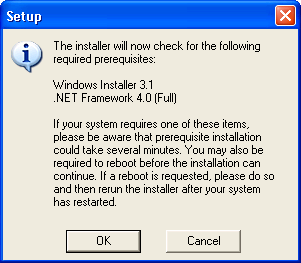
The installer checks for installation and application prerequisites. If a required item is not found, it will be automatically installed.
Note: You may be required to reboot the system before the installation can continue. If you do have to reboot, rerun the installer after your system has restarted.
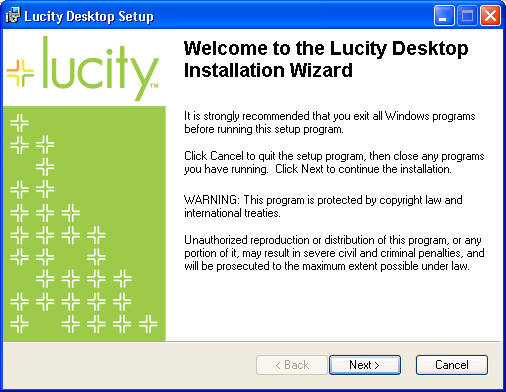
When this process is complete, the following window will appear:
Read the Welcome screen.
Click to continue. The following window will appear:
Choose the type of install method you wish to use. Unless otherwise instructed by your implementer or a support representative, always use the "Typical" method.
Typical - This is the method recommended for most users. It will install all applications that the general user will need (including the Lucity Administration for the web app).
Complete - This method installs all applications a general user needs plus the Lucity GIS Viewer and Admin Tools.
Custom - This method allows you to customize the installation. It is recommended for advanced users only.
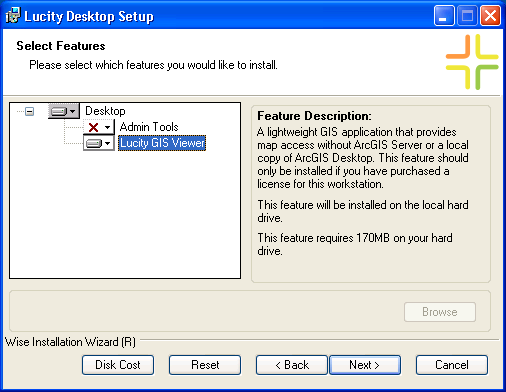
If you choose Custom - the following Screen will appear:
Select which extensions to install. Clicking on an extension for an explanation of what it is.
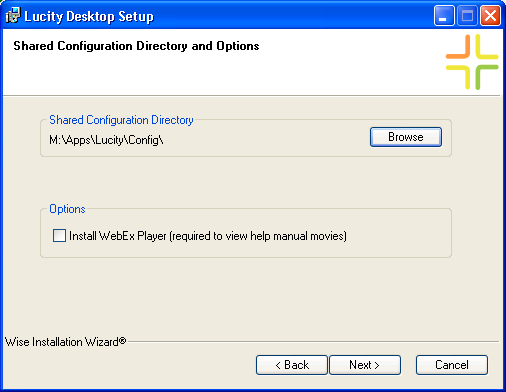
Click to continue. The window below will appear:
Using the button, select the path where your shared configuration files are located. This is typically a directory located on a network share.
Within the Options section, decide whether you want to install the WebEx Player (required to view movies within our help system) and add the Lucity Messenger application to your Windows Startup folder. If you will be using Lucity Messenger in your environment to receive Work Order related alerts, we recommend you add a shortcut to this application to your startup folder so that the application runs every time you start your computer.
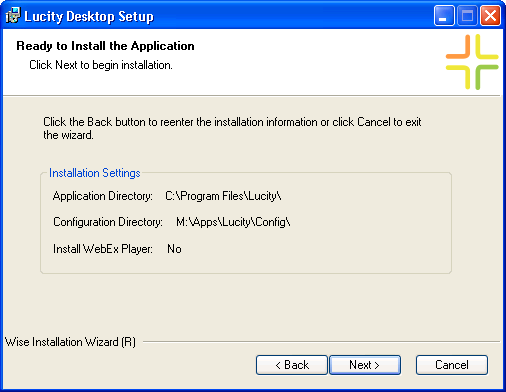
Click to continue. The following window will appear:
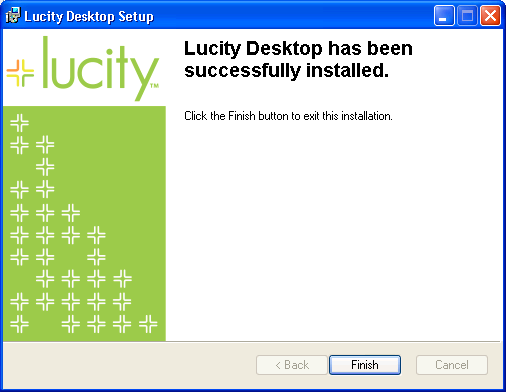
Click to continue.The installation process will now begin. You will see a status bar while the features you selected are installed. This process may take a few minutes. The following window will appear when the installation is complete:
 to continue. The following window will appear:
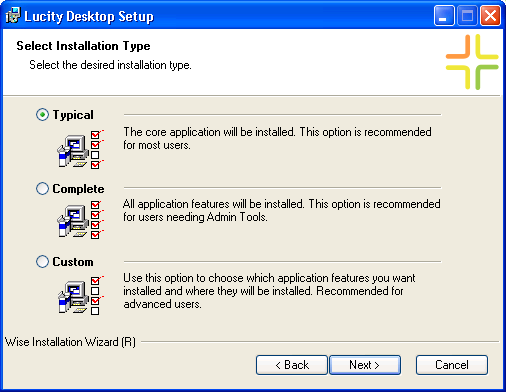
 button, select the path where your shared configuration files are located. This is typically a directory located on a network share.