 to continue. The Database Connection Information dialog will appear:
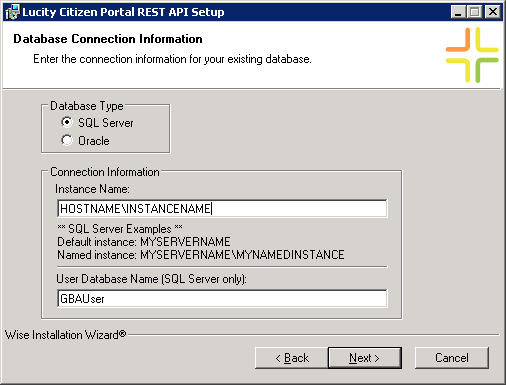
Note: Depending on which database you are using (Oracle or SQL Server), select the appropriate radio button. Then, enter the appropriate DB connection information based on your database type. Note that these need to be existing databases as the installation will not be creating databases for you.
- SQL Server Users: Enter the Instance Name and User Database Name (GBAUser). The latter must be the user database; change the name if you are using something other than GBAUser.
- Oracle Users: Enter the Instance Name only. The User Database Name field will be inaccessible.
Oracle Users: The following versions/components are required: 10gR2 (version 10.2.0.1) and ODP.NET 2.0 (version 10.2.0.2.20). Checks are performed for these components. If any fail, you'll receive an error message stating the particular problem. If a problem is found, the installation will be terminated.
to continue. The Existing Site dialog will appear: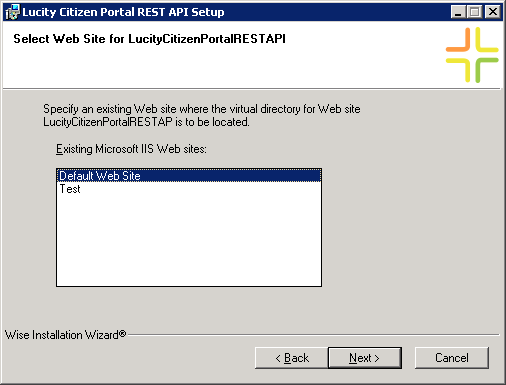
- Select an existing web site where the virtual directory for the Citizen Portal is located.
Note: This screen will appear only if more than one site is defined in IIS. If there is only one web site, this screen will not appear.
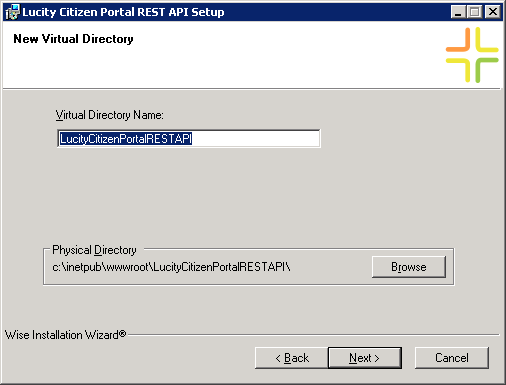
to continue. The Virtual Directory dialog will appear:- We recommend using the default settings. The Physical Directory defaults to the root of the existing web site.
to continue. The SSL Option window will appear: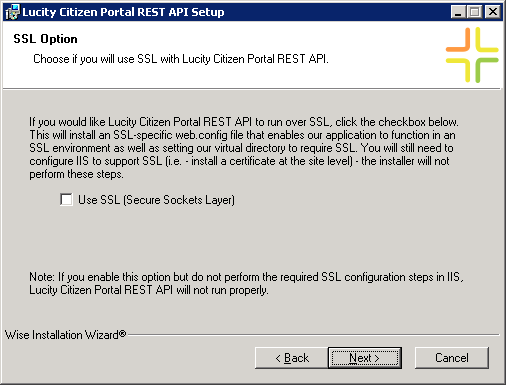
Note: If you enable this option but do not perform the required SSL configuration steps in IIS, REST API will not run properly.
to continue. The Web Gateway User dialog will appear: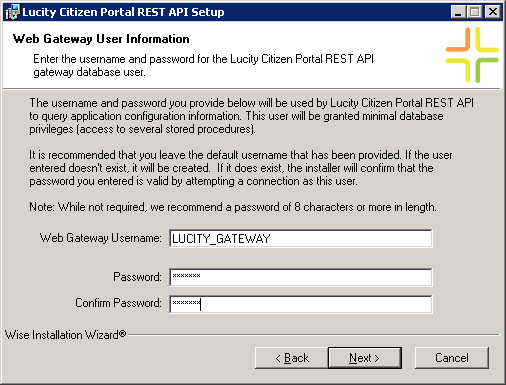
Consider the following when creating a username:
- We recommend using the default username provided.
- If you choose to type in a different username, it should not be an administrative user or any existing Lucity user names. These user names are disallowed. If you enter a username that is disallowed, you'll be prompted to enter an alternative username.
Consider the following when creating a password:
- If the username you enter already exists, the installation will verify the password by attempting to connect to the database ase this user.
- For new accounts, we recommend a password at least 8 characters in length.
Note: By default, SQL Server 2005 or higher enforces your local or domain password policy when evaluating passwords for database users. If you are using SQL Server 2005 or higher, please ensure that the password you choose meets your organization's password policy.
to continue. The DBA Admin Login dialog will appear: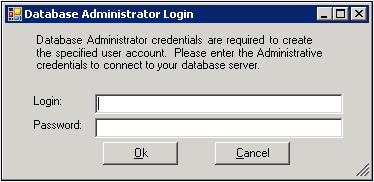
DBA Credentials are required to create or update the specified user account. Depending on the type of database you are using (SQL Server or Oracle), enter the following:
- SQL Server Users: Provide sa credentials or some other DB admin.
- Oracle Users: Provide the gba_admin account or another DB admin account.
Note: If the credentials you enter aren't sufficient, an error message will appear informing you of the possible problems.
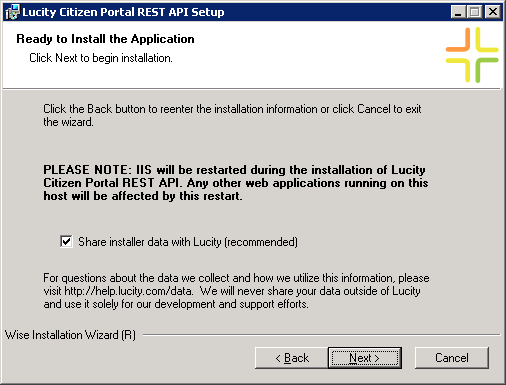
Note: IIS will be restarted during the installation.
Note: The Virtual Directory creation may take up to 1 minute depending on the speed of the web server. Please wait while this process completes.
to begin the installation. This process may take a few minutes. The following window will appear when the installation is complete: