 to continue.
Note: The Services require Microsoft's .NET Framework 4.0 and MDAC 2.8 or higher. If you do not currently have these runtime dependencies installed, the install will prompt you to install them now. You'll need to install these dependencies and then restart the installation. After restarting, the Services installation will automatically continue where you left off.

 to continue. The Application and Config Directory Locations window will then appear:
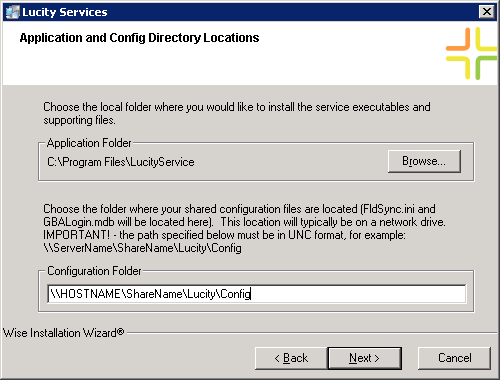
 button, choose the path to the local application folder in which you want to install the service executables and supporting files.
 Note: These program files must be installed locally on the machine where the work services will be run from (e.g. C:\, D:\). Also, the work services program files should not reside in the same folder as your Desktop install programs, nor should they reside in your shared configuration directory.
Note: UNC naming must be used to specify the shared configuration directory, as Windows services do not have access to mapped drives. See the screen above for an example of UNC formatting.
to continue. The Configure Service Credentials window will then appear: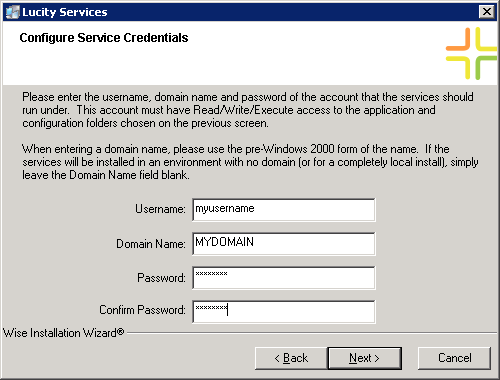
Note: If your server is not running in a domain environment, simply leave the Domain Name field blank.
to continue. The Start Installation window will appear.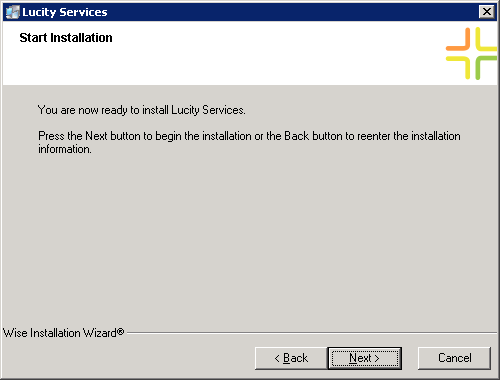
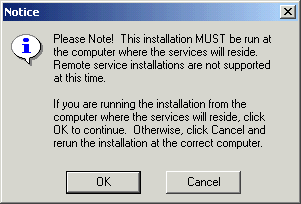
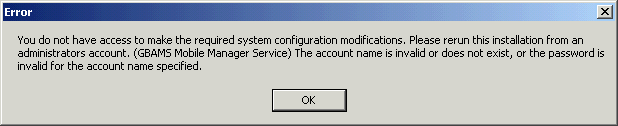
to continue. The Services installation process will begin.Note: If you receive the following error during the installation, there is likely a problem with the credentials you specified earlier in the install. Please rerun the installation and provide credentials that have local administrative privileges. These credentials must also have read/write/execute access to the application and configuration directories you specified.
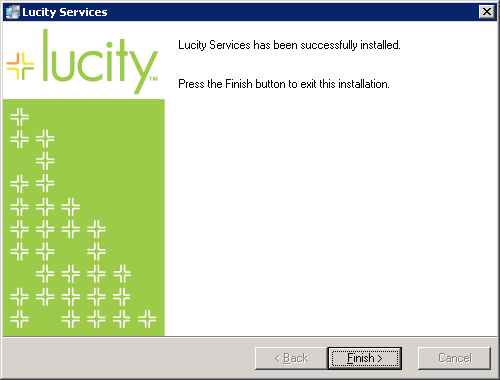
 to complete this process.
 Note: This is the final step in the Services install/upgrade.
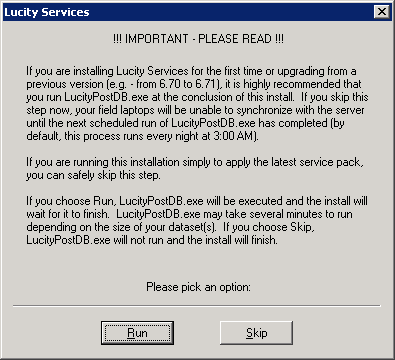
- If you choose, you can run LucityPostDB.exe at a later time. Click
 to choose this option.