The Mobile Barcode PDA Install can occur multiple times at any workstation. Additional installation steps may be required for your individual handheld device. Check your handheld screen for directions.
First, make sure that your handheld device has a unique name. You can most likely modify the name by going to Start>>Settings>>System Tab>>About>>Device ID Tab and changing the "Device Name" value on the handheld.
At a workstation with Lucity installed, connect the handheld device to the computer via the USB port.
If ActiveSync had not been installed, install it now on both the workstation and handheld device per the ActiveSync directions.
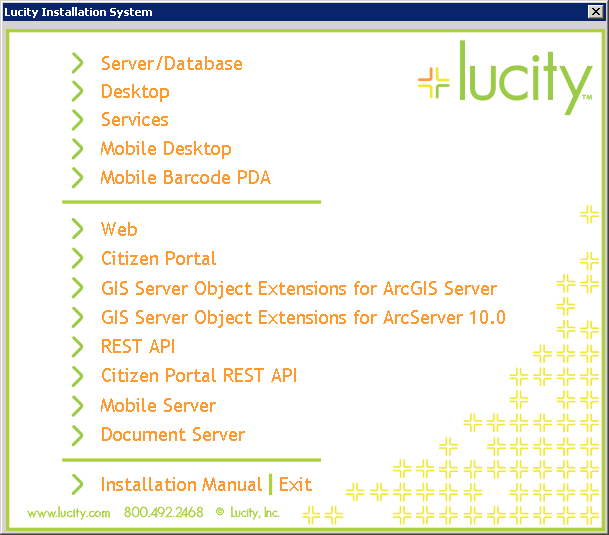
Place the Lucity software installation DVD in your computer; the following screen will appear:
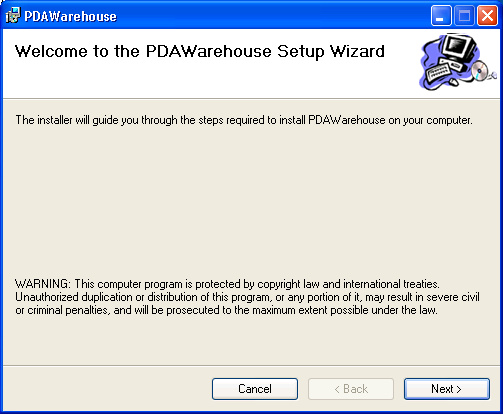
Select the Mobile Barcode PDA option on the menu. The following window will appear:
Read the Welcome screen.
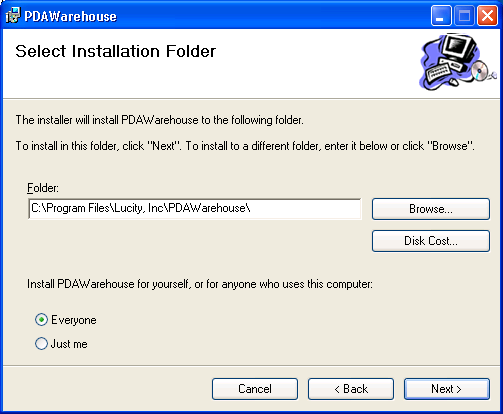
Click to continue. The Installation Folder dialog will appear:
We recommend that you install Mobile Barcode PDA in the default directory; however, you can browse to another directory if needed.
Indicate whether you would like to install Mobile Barcode PDA for yourself or for anyone who uses the workstation.
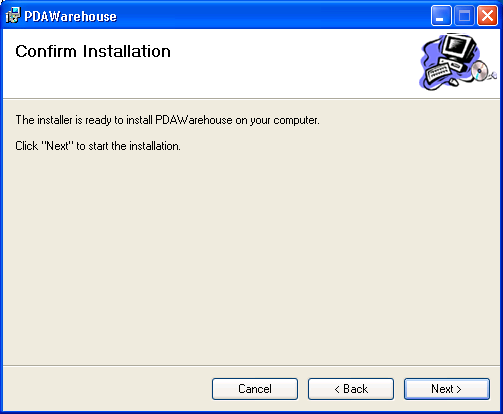
Click to continue. The Confirmation dialog will appear:
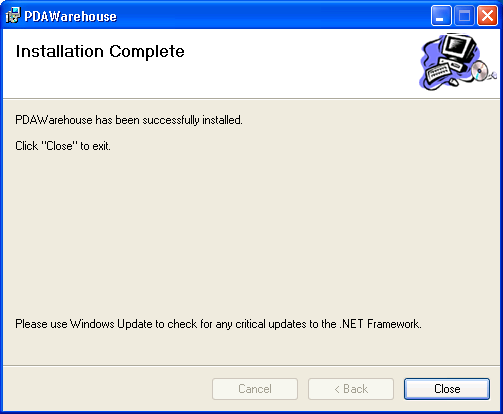
As each individual application installation is completed, you'll see the following dialog:
Note: When this dialog appears, check your handheld device screen to see if any additional steps are needed to complete the installation for each application. Click once you are finished.
The following window will appear when the installation is complete:
Open the Lucity program and select Mobile PDA>>Barcode Setup from the main menu. In the Barcode Setup module, complete the following:
Enter the name of your handheld device.
Note: Refer to the Lucity help guide for additional information on the Barcode Setup module.
 to continue. The Installation Folder dialog will appear: