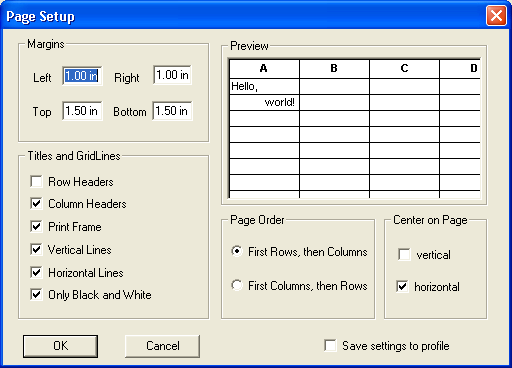
 to open the Page Setup window.
- Row Headers - Provides a header for one or more rows.
- Column Headers - Provides a header for one or more columns.
- Print Frame - Prints the page frame.
- Vertical Lines - Provides vertical grid lines for the report.
- Horizontal Lines - Provides horizontal grid lines for the report.
- Only Black and White - Makes the header and grid lines print in either black and white or with a shaded background.
 if you are satisfied with your modifications.
 if you wish to return to the default settings.
Note: If you wish to save the page setup to the current browse results, check ![]() located in the lower right corner. This ensures that the layout of the browse will remain the same the next time you choose to view the browse.
located in the lower right corner. This ensures that the layout of the browse will remain the same the next time you choose to view the browse.