 How to show/hide the Form Details
This section explains how to accomplish common tasks when editing a form.
How to show/hide the Form Details
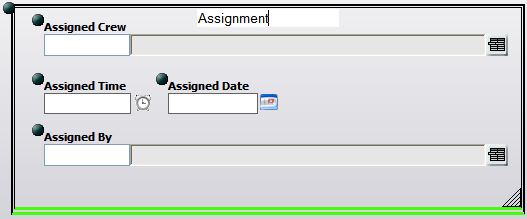
orm Details, click the Form Manager. Desktop, the custom names appear in this list. Name, Component Type, and default Lucity Caption.Note: Click the FieldNames or Captions button to toggle how fields are identified in the list.OK button to close the list of fields and add the selected fields to the Form Preview.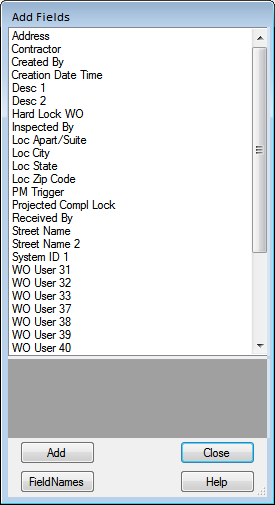
The system places the fields on the form in the order in which they were selected.
Note: If secured fields have been added to a form (e.g., Employee's hourly rates), only users with rights to view secured fields will see them. These rights are granted in the Security.exe.
Note: Fields that are required in the Desktop application (such as Category on Work Orders) will be forced onto the Web form by the Lucity Administration for Web Apps. Such fields cannot be removed; however, they can be hidden using the Component Property settings.
Several types of fields have additional special functions (knowledge base, scripts, etc.). These fields are described in the following topics.
How to insert a label/hyperlink
Change My Text appears in the Form Preview. 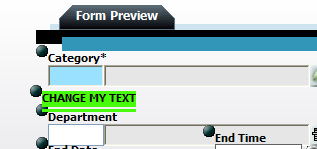
Change My Text to access a text box.Note: There are no limitations on the number of labels that can be added to a Form.
Hyperlinked Labels
To make the label a hyperlink, use the following syntax as the text:
<a href="website url" target="_blank">Your Label</a>
Your Label will be displayed on the form, and the address used as the website url will open when the user clicks the label.Example
<a href="http://blog.lucity.com" target="_blank">Lucity Blog</a>
Form Preview.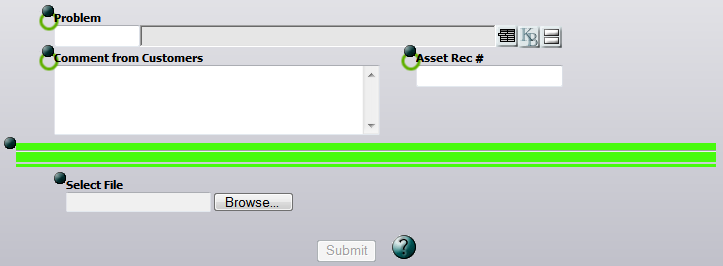
Note: The length of the line cannot be changed.
Note: There are no limitations to the number of divider lines that can be added to the form.
Click the frame button ![]() . An empty, rectangular frame is added to bottom of the the Form Preview.
. An empty, rectangular frame is added to bottom of the the Form Preview.
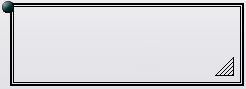
Changing the Frame Size
Grouping Fields with a Frame
File Upload field appears at the bottom of the Form Preview.![]()
Note: More than one upload field can be added to a Form.
OR
Location properties.Note: Fields can be placed anywhere on the form; the form size automatically adjusts to accommodate field placement.
Label, simply click on the label. A text box appears, allowing you to type directly in the Form Preview.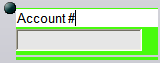
OR
Label property.Form.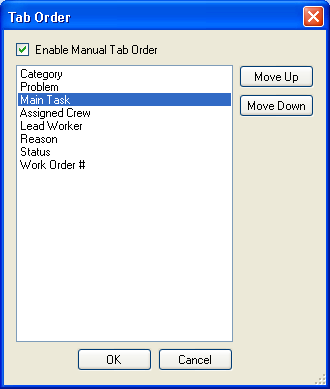
Enable Manual Tab Order checkbox.Move Up or Move Down to change the tab order.OK when the changes are complete.Note: The default tab order for fields in Forms is assigned by the system in a left-to-right, top-to-bottom manner. The system takes into consideration the placement of fields within frames, meaning that users can tab through all of the fields in one frame before the tab order shifts to a second frame.
How to remove the selected item
Note: Fields that are required in the Desktop application cannot be removed. The Remove button is disabled when such a field is selected. However, such a field can be hidden.
There are several special lookup buttons found on Work Orders and Request forms.
To hide the lookup buttons:
System > Settings > Work tab.Show Customer Lookup and Request Lookup buttons on Request forms and the Show Customer Lookup button for Work Order Billing options.|
See Also |