
 Print
Print
|
|
|
|
|
Column Filters
To use the Column Filter function, follow the steps below:
- Filter buttons are found at the top of each column on the General Form. A sample appears below:

- Determine which columns you would like to use to search for data. The system supports multiple column filters at a time. In the example above, you can choose to search by Work Order #, Category, Category Text, etc.
- Click on the appropriate columns' filter buttons to view filtering options.
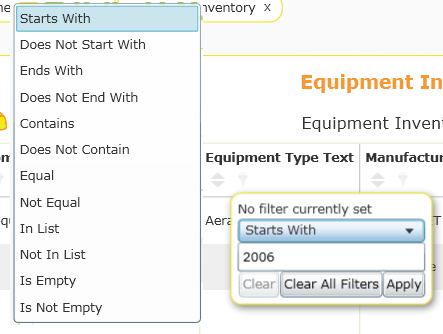
- Choose the way in which you would like to search for data. The first drop down list will contain some of the following choices based on the type of data in each column:
- Starts With
- Does Not Start With
- Ends With
- Does Not End With
- Contains
- Does Not Contain
- Equal
- Not Equal
- Is Empty
- Is Not Empty
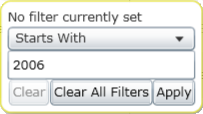
- You can then enter the data you would like to search for in the second field and click Apply. The tool will Locate and display only the records matching your filter criteria.
Note: If using the Column Filter tool on multiple columns at a time, each additional Locate criteria will serve to further limit the records displayed.
- After you have defined filter criteria for a column, the filter icon will be remain in that column. Hover your mouse over the icon to display the current settings. You can also click on this icon to display the criteria or clear the current selection:
Note: Select the Save My Customizations tool ![]() to save any sorts or filters.
to save any sorts or filters.
See Also |
Print
| © Lucity, Inc. All rights reserved. |
|