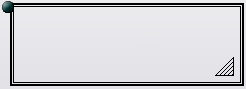
- You can change the size of the frame by placing your mouse over the triangular image
 at the lower-right corner of the frame. Your cursor shape will change allowing you to resize the frame.
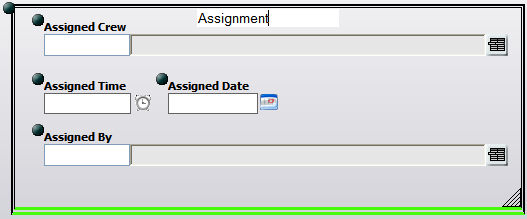
 - Place fields inside the frame by using each field's handle
 to drag and drop them inside the frame's borders. This allows you to group similar fields.
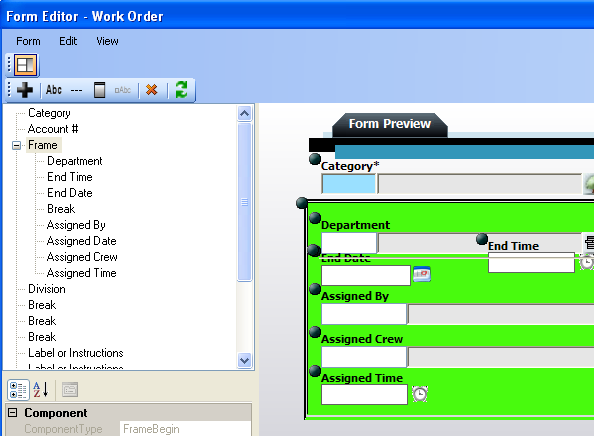
 - To change the location of the frame on the form, place your mouse over the handle at the upper-left corner of the frame. Your cursor shape will change allowing you to drag and drop the frame to the desired location. When moving the frame, all fields with handles contained inside the frame's borders will be moved along with the frame. Frames can be placed anywhere on the form; the form size will adjust automatically to accommodate frame placement.
- To select a frame, click anywhere on or within the frame's borders (excluding any fields contained inside the frame). The frame is selected when its border is changed to a dashed line.
- The top portion of the form details dialog will list all fields contained inside the frame in the order that they appear. As you rearrange fields inside the frame the list order will change automatically.
- You can add a customized label to the frame by typing the desired text in the "Label" section of the frame's properties at the bottom of the form details dialog. Customized frame labels will appear centered at the top of the frame.
- You can add shading to a frame by setting the "Shaded" property to True. This helps to visually distinguish the frame from the rest of the form.