Red-Line Configuration
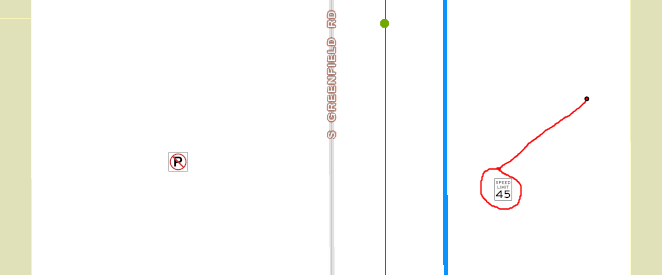
The Red-lining tool allows users to draw reference information directly into the map and add notes. This allows an supervisor to create a work order and then draw something in the map for his workers to see, or allows a worker to display something that the supervisor needs to know about.
For the red-line tool to work you will need feature classes to store the red-line information. The following is an example setup.
Create feature classes. Add any desired fields.There are no required fields. A text field with a large mask is a good idea, so that users can add comments.
In ArcMap create a map Add the red-line feature classes.This map should ONLY contain the red-line feature classes. Do not add operational data to the map. This map can contain more than one set of red-line data if desired. However, only one layer of each type (point, line, polygon) can be added to each web map. Set the symbology as desired. The Default editing template for the feature class will be used in the webmap.Note: More than one red-line map can be created. However, only one layer of each type (point, line, polygon) can be added to each web map.
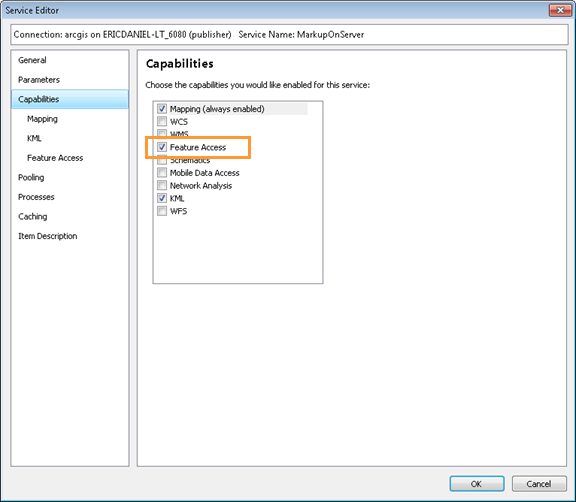
When Publishing the map to a Map Service there are several special options that need to be enabled. On the Capabilities tab the Feature Access option must be checked.
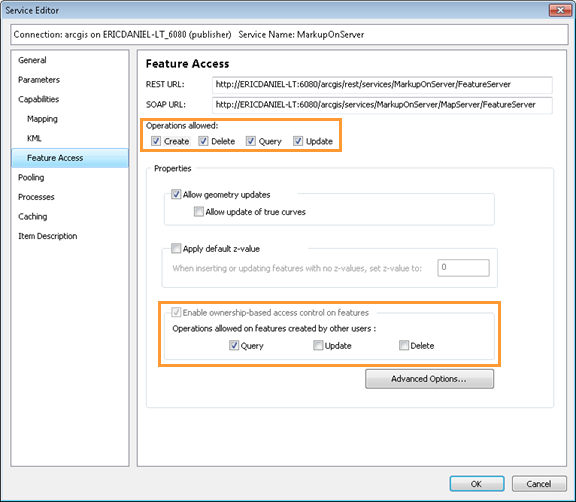
After the Feature Access option is checked go to the Feature Access tab . Under Operations allowed the Create option is required. The other options are not required, but some of the red-line tools will not work.
The red-line tool also supports the Enable ownership-based access control on features .
Collect map service information
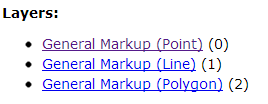
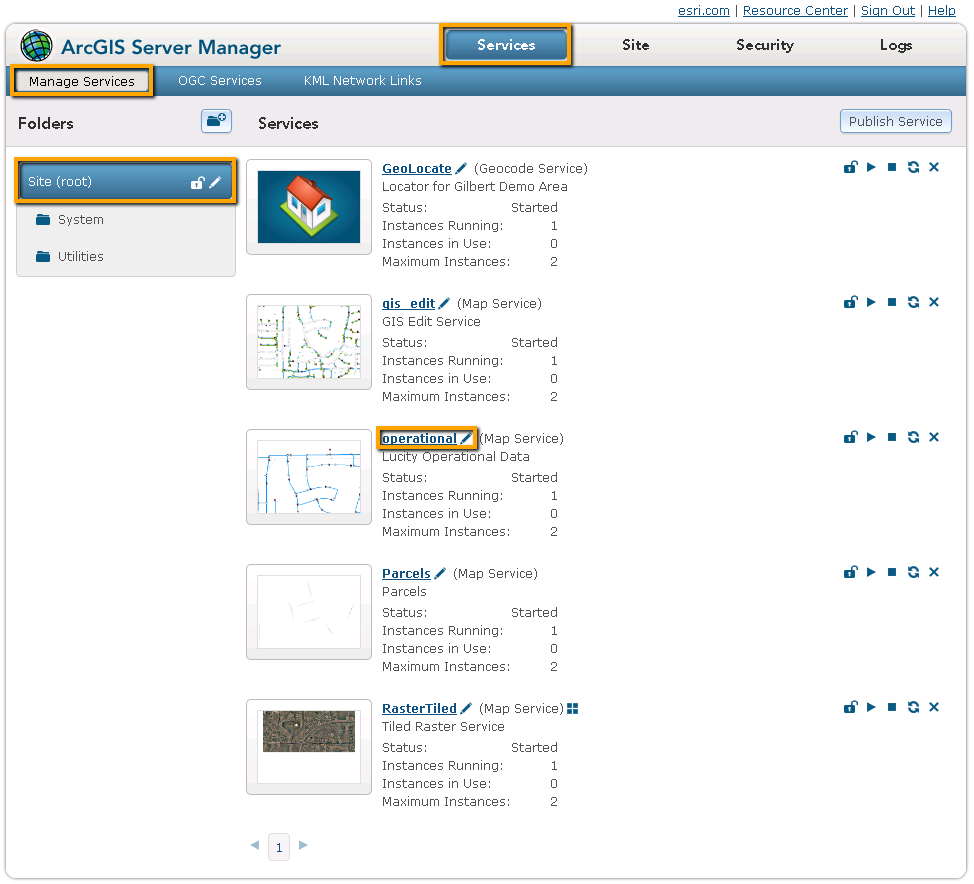
Log into Arc Server Manager and click on Services > Manage Services . Find a map service to use Click on the map service to see its properties. Go to the Capabilities tab . Copy down the URL found in the URL box. It should have a path similar to this: http://<server name>/ArcGIS/services/<service name>/FeatureServer Take the URL and add "rest" to it. It will look similar to this: http://<server name>/ArcGIS/rest/services/<service name>/FeatureServer Open up a web browser and paste the URL (from step f) into it and go to the site. A page will appear with the properties of the map service Under the Layers section a list of all the service's layers will appear:
The number behind the layer name is the layer order number. Add this number to the end of the service url. It will look similar to this: http://<server name>/ArcGIS/rest/services/<service name>/FeatureServer/0
Log into Arc Server Manager and click on Services > Manage Services .
Find a map service to use Click on the map service to see its properties. Click on the Capabilities button . Copy down the REST URL. It should have a path similar to this: http://<server name>/ArcGIS/rest/services/<service name>/FeatureServer Click on the REST URL. A page will appear with the properties of the map service. Under the Layers section a list of all the service's layers will appear:
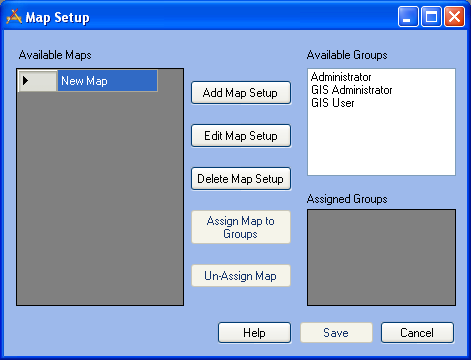
The number behind the layer name is the layer order number. Add this number to the end of the service url. It will look similar to this: http://<server name>/ArcGIS/rest/services/<service name>/FeatureServer/0 Go into the Lucity Administration Tool and go to GIS > Map Setup .
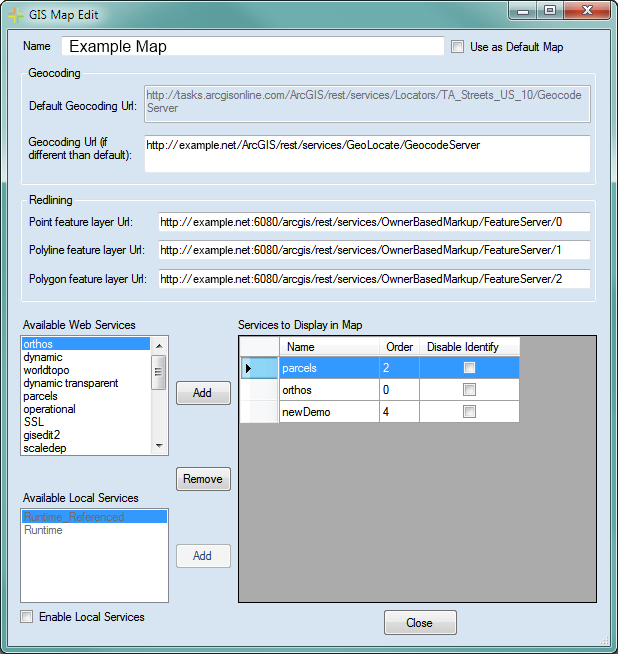
In the Available Maps grid select the map to add the red line service to and click Edit Map Setup .
In the Redlining section fill out the URL for the map service that contains the redline features along with the layer number at the end.http://<server name>/ArcGIS/rest/services/<service name>/FeatureServer/0 This must be done for each type of redline layer. These layers will show up in the map.
 How To Create Red-Line Feature Classes