 Print
Print
Using the Forms
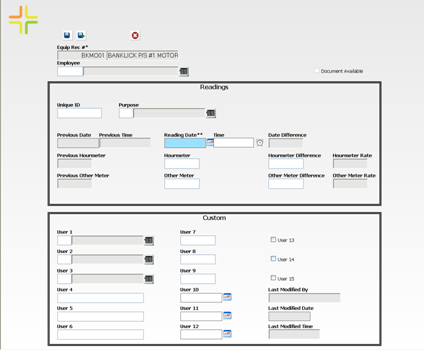
Forms are used for adding new records, as well as viewing and editing existing records. By clicking on a listing in the Child Grid you can access the Forms. Each Form will be launched in a separate window (see example below). These forms can be customized by your administrator and will have different fields available. Changes made here will be submitted to your desktop version of Lucity.
You can navigate through the fields on the form by using the Enter key (read-only fields will be automatically skipped). Or, click with your mouse in the desired fields. You can also use key combinations of Shift + Enter to cycle backwards through the fields, and Ctrl + Enter for carriage returns in multi-line text boxes (such as Comment fields).
Several fields on the Forms allow you to use the F5 key to copy a value from one field to another. These are listed below:
- In Requests, from the Phone field to Home Phone, Phone 1, Phone 2, or Work Phone.
- In Work Orders and Work Tasks, from the Start Date to the End Date.
- In Work Orders, from the Total Cost to the Billing Amount.
- In Fleet Travel Log, from the Start Date to the End Date.
- In Fleet and Equipment, populates the WO Equip Code with a related value.

Note: Request forms now have a "look up" function. The fields that have this function allow you to type in information in one of the fields, click on the lookup, and select the correct record to fill in the rest of the information on the request.
In This Section |
See Also |

 Print
Print
| © Lucity, Inc. All rights reserved. |
|