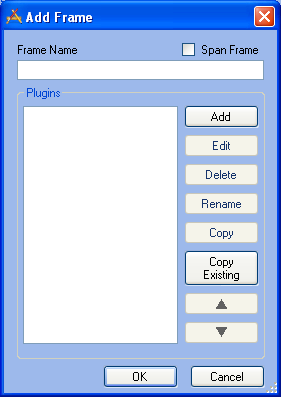
Note: This is a required field.
- You can Add a new Plugin.
- You can Copy an Existing Plugin. This allows you to add a plugin that has been configured for another user. This feature is described in the Existing Plugins topic.
- If you highlight a plugin in the list, you can Edit its settings.
- If you highlight a plugin in the list, you can Delete its settings. A prompt will appear asking you to confirm the deletion.
- You can Move Up or Move Down a plugin in the list. Highlight an item and click the appropriate button. This will change the order of the plugins as they appear in the Dashboard frame.