After an administrator has created map packages (or online services), Lucity must be configured to recognize them. This section explains how to add a local map package to the GIS Map Services form.
Open the Lucity Administration tool and go to GIS > Map Services.
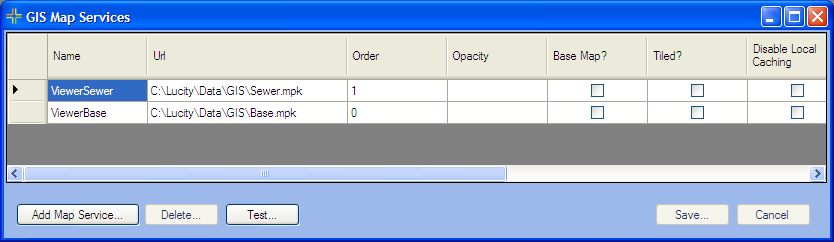
Click Add Map Service...
Fill in the Name field. This name will identify the map service when it is added to a Lucity map, or viewed in one of the Lucity mapping products.
In the URL field, enter the path to the map package.
The map package should be stored on a network that users of the Viewer have access to.
The map packages have file names ending in .mpk or .tpk.
Enter a value in the Order field. (Map services are layered based on this field. A lower number represents a lower layer. 0 is the bottom layer.)
Ignore the Base Map field. The Viewer does not use it.
If the file is a tiled map package (.tpk), check the Tiled? box to indicate the layer is a tiled service.
Click Save.
After all map packages have been added, go to the System > Settings > GIS Web tab in theLucity Administration tool.
In the URL for Geocoding Service... field, enter the path to a geocoding package (.gcpk) or the URL to a geocoding service. This will be the default geocoding service for all of the Lucity mapping applications.