Installing the Viewer

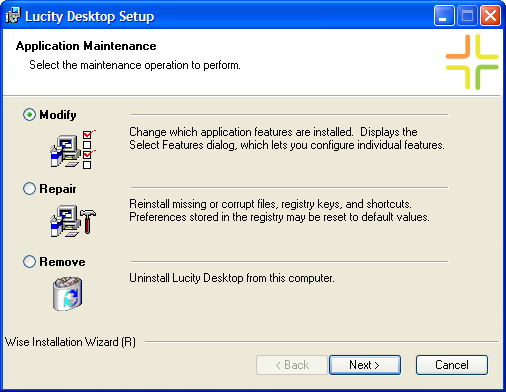
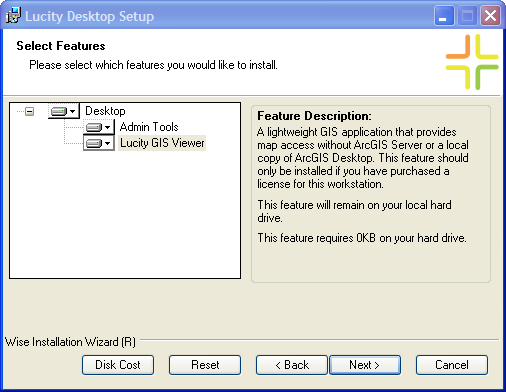
The Lucity GIS Viewer must be installed on the machine on which it will be used before the user can access it. The GIS Viewer is part of the Lucity Desktop install; however, it is not installed automatically. The Viewer can either be installed during Lucity Desktop installation or by modifying the Lucity Desktop installation.

Note: If installing the Viewer during the normal Lucity Desktop installation, choose the Custom install option. Then proceed to Step 6 below.

How To Modify the Desktop Installation

  1. On the machine, open the Control Panel.
  2. Run Add or Remove Programs, or Programs and Features.
  3. Find and select Lucity Desktop.
  4. Click Change. A screen similar to the one below appears:

    modify

  5. Select Modify, and click Next >. The next screen displays components that the user has the option to install.

    Options

  6. Click the Lucity GIS Viewer drop-down and select Will be installed on local hard drive.
  7. Click Next >.
  8. Once the program has completed the installation, click Finish.

See Also

Setup Lucity GIS Viewer

Security

Creating Map Packages

Map Service Configuration

Map Setup for a Viewer Map

Activation and Activation Management