 Click on this link to access the Work Order Tutorial Movies
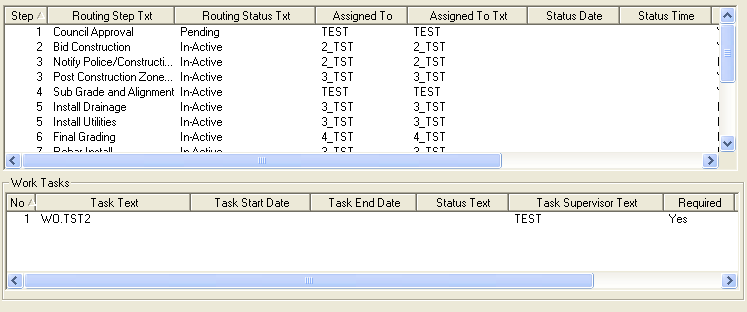
Routing tasks are defined in the Work Flow Setup Tasks module. When a main task is selected in a work order, all associated routing tasks are auto-populated into the Routing tab. From here, you can mark each routing task and sub-task as complete, re-route (change the order), or reset a task.
The first routing task will be activated immediately; thus, having a "pending" status. If the active or pending routing task has sub-tasks associated with it, they will appear in the Work Tasks grid (bottom grid). Once you close a routing task, the next task will be automatically activated, and again any associated sub-tasks will appear in the Work Tasks grid. A cumulative list of associated sub-tasks will appear in the Tasks grid (under the Tasks/Resources Tab.
Based on your system setup, an "Assigned" notification can be sent to the "Assigned To" employee when a routing task is activated. Similarly, a "Completed" notification can be sent when a routing task is marked complete. These notifications and the assigned employee are indicated in the Work Flow Setup Tasks module, Routing Tab.
 Click on this link to access the Work Order Tutorial Movies
