After creating map packages (or online services) Lucity must be configured to recognize those. This section will go over adding a local map package to the GIS Map Services form. For more detailed instructions about adding an online service go here.
How To Configure a map package
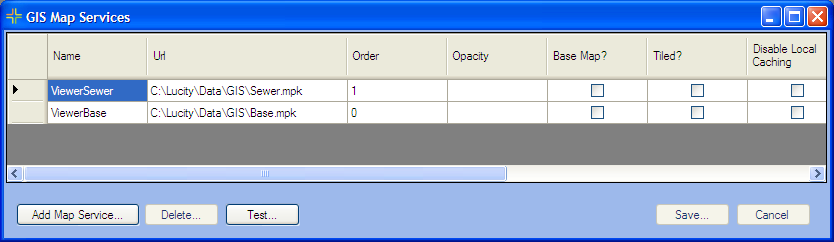
Go into the Lucity Administration Tool and go to GIS > Map Services.
Click Add Map Service...
Fill in the Name field. This will identify the map service when adding it to a Lucity map, or seeing it in one of the Lucity mapping products.
Fill in the URL with the path to the map package.
The map package should probably be stored somewhere on the network that all viewer users have access to.
The map packages will either be a .mpk or .tpk
Fill out the order field. (Map services are layered based on this field. A lower number is a lower layer. 0 is the bottom layer)
The viewer does not use the Base Map? field
If the file is a Tiled Map Package (.tpk) Check the Tiled? box if this layer is a tiled service.
Click Save
After all map packages have been added, go within the Lucity Administration Tool to System > Settings > GIS Web tab.
In the URL for Geocoding Service... provide the path to a geocoding package (.gcpk) or the URL to a geocoding service. This will be the default geocoding service for all the Lucity mapping applications.