The Grid Manager allows you to create custom grids and indicate what specifically will appear in each. You can then associate Forms with the Grids you define.
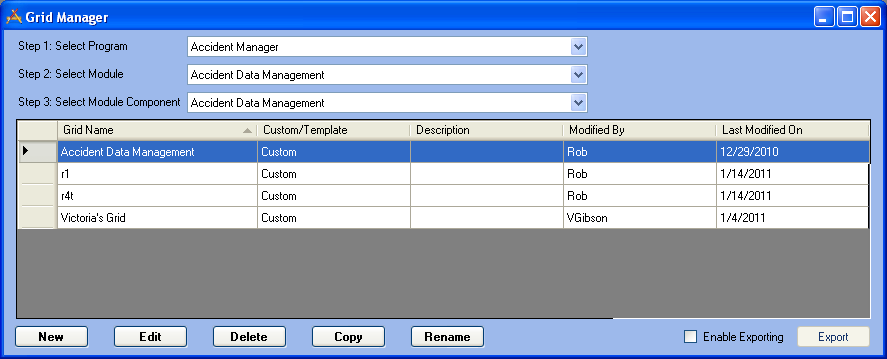
To use the Grid Manager, select a Program from the first drop down menu. Follow the link for a listing of Available Programs.
Then, select a module from the second drop down menu. Available selections will change depending on which program was selected in the previous step. Follow the link for a listing of Available Modules.
Next, select a module component from the third drop down menu. This selection dictates the types of grids you be able to create. The available components are determined by the module you selected in the previous step. Follow the link for a listing of Available Module Components.
The grids displayed in the table will change depending on the selections you made above. In the example below, only Work Order Module grids are displayed. Had we made other selections, different types of grids would appear in the table. The columns in the table contain the following identification information.
The grid name and description.
An indication of whether the grid is a custom grid or a Template.
The last modified by and last modified date information.
You can use the buttons below the table Add new grids. Consult the Creating Custom Grids topic for additional information.
You can also use the buttons to Edit existing grids, Copy existing grids or Templates, Delete existing grids, or Rename existing grids. Click on the links for additional information.