The Installed AMR Devices grid allows you to associate one or multiple AMR devices with the meter set location. If you utilize a compound meter, you'll typically need to attach two AMR devices (to record both low and high readings).
To install an AMR at a meter location, complete the following steps:
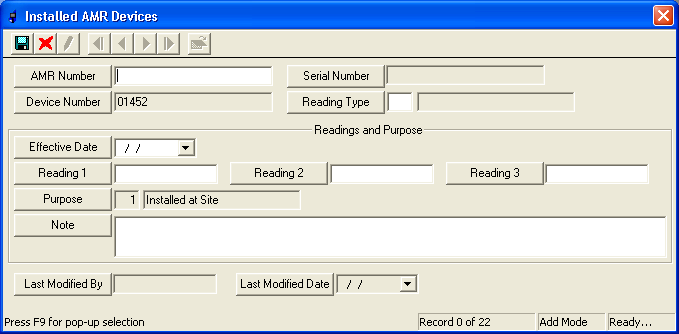
Right-click in the grid and select Install AMR. The following window will appear:
Select an AMR Number from the pick list. This is a required field. The Serial Number field is automatically populated with data from the corresponding AMR Inventory record.
The Device Number field will be automatically entered by the system. This indicates the Meter Device currently installed at the location, if there is one.
Enter a Reading Type (i.e. Single, Low, Middle, High). This is a required field.
Enter an effective date. This is a required field.
Enter any additional information - readings, notes, etc.
The Purpose will be automatically entered by the system. This will reflect the action taken. For AMR installations, the purpose will read "1 - Installed at Site".
Click to save the record. If the combination of the AMR #, Reading Type, Effective Date, and Purpose fields are unique, the record will be saved successfully.
Note: Once an AMR has been installed at the location additional right-click functions will be enabled in the grid. Follow the links below for details.
 to save the record. If the combination of the AMR #, Reading Type, Effective Date, and Purpose fields are unique, the record will be saved successfully.