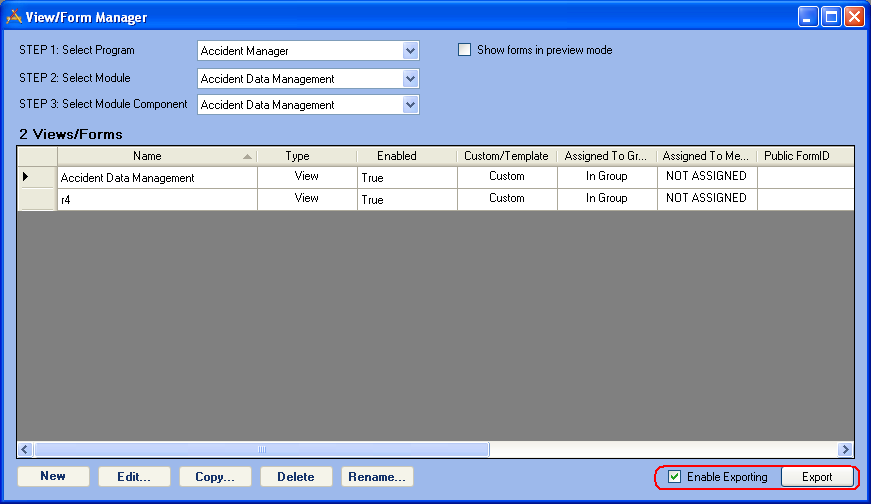
At to the bottom right of the View/Form Manager there is an Enable Exporting checkbox and an Export button. These allow users to export views and forms they have created in one Lucity Client, and import them into another. This is most useful if they are create views and forms in a test environment, and need to import them into the production environment.
How To
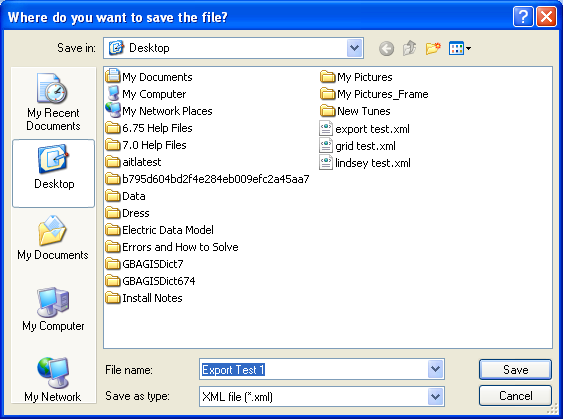
Export Views/Forms
Note: See the Import from XML topic to learn how to import a grid or view.
Note: If there is another view attached to the view you are exporting, only the name of the attached view will be carried over when it is imported. To get everything that is attached to the view you are exporting, export the attached views first, then export the original export. When the views are imported, they will get attached to the original export because of the shared name.
See Also |