This menu option provides you access to the Report Manager, allowing you add, edit, and delete custom reports for use with the Web application.
Note: The Report Manager does not provide a way to upload reports. Reports must be posted to the web server in the \Reports directory in order to be available online. There you'll see sub-directories for \Equip\, \Work\, etc.. Reports should be placed in the appropriate sub-directories.
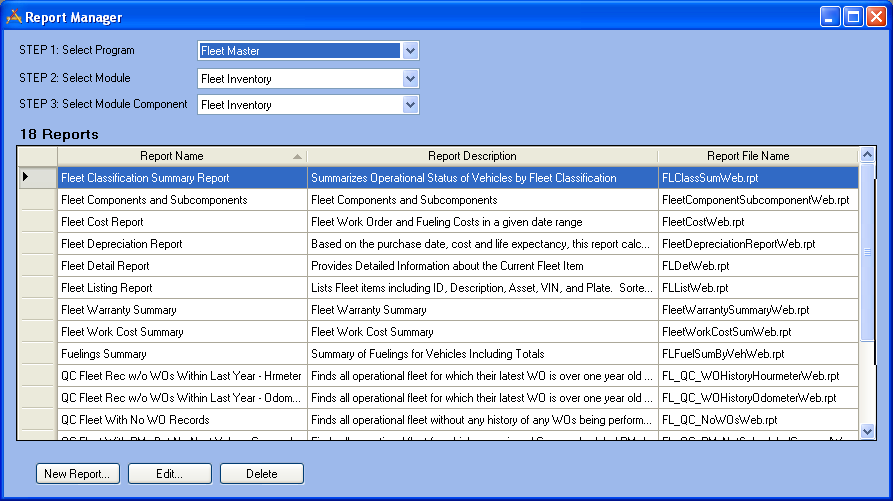
To use the Report Manager, select a Program from the first drop down menu. Follow the link for a listing of Available Programs.
Then, select a module from the second drop down menu. Available selections will change depending on which program was chosen in the previous step. Follow the link for a listing of Available Modules.
Next, select a module component from the third drop down menu. This selection dictates which module components the reports will be associated with. The available components are determined by the module selected in step 2. Follow the link for a listing of Available Module Components.
The reports displayed in the table will change depending on the selections you made above. In the example below, only Fleet reports are displayed. Had we made other selections, different types of reports would appear in the table. The columns in the table identify the Report Name, Report Description, and Report File Name.
You can use the buttons below the table to Add new reports, Edit existing reports, or Delete reports. Click on the links for additional information.