Creating a Work Order Report with a Map

Work order maps can be created directly from the map after the View Work Locations command is used.  For information on loading work orders into the map, see Viewing Work Orders in the Map.

  1. When the View Work Locations command is finished processing, it automatically makes this tool active .  This tool allows you to edit work orders, view work orders, or view work order reports.  
  2. To access these options, right click on the asset you would like to work with.  The following dialog will appear:

    WO Tool

  3. When you select "View Work Order Report" from the menu, a list of all work orders at the point you clicked on will be displayed with their work order number and action.  In addition to viewing the report in the desktop, you can also make changes in order to create a custom report.

    View WO Report

  4. Select the work order for which you want to create a report.  The system will launch the report in the desktop.  You will briefly see a dialog identifying that it is Updating Active X Links.

    Update Active X

  5. This process retrieves the image of your current map display in order for it to be printed.  The work order will always display exactly what is in your current view when you click on the View Work Order Report menu.  Before selecting to view the work order report you may want to make sure the work order map it is clearly displayed.  You can do this by zooming in and turning on and off themes or you can label the assets.

    If you are using the default map report that is provided with Lucity GIS, the first page of the report contains tabular data including the category, action, supervisor, start and end date, and an area for entering tasks and resources.  The second page will contain the map and a header identifying the work order.
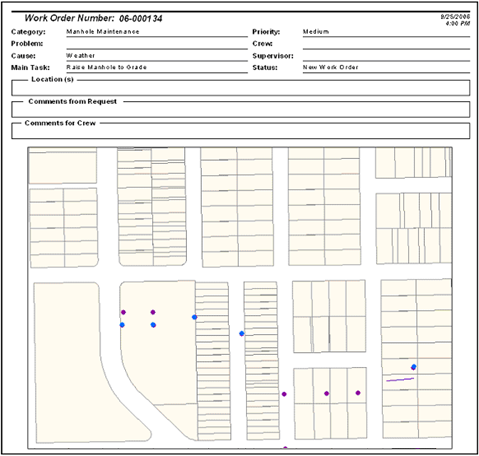
    WO Report

See Also

Work Location Viewer

Editing and Viewing Work Orders from the Map