Viewing Work Orders in the Map

The View Work Locations tool allows you to view where work is happening or has happened in your map.  This tool is effective for any work order that has an address, an X and Y Coordinate (Location tab in Work Orders), or assets assigned to the work order in the Assets tab.  Some or all of the assets must be in the map.

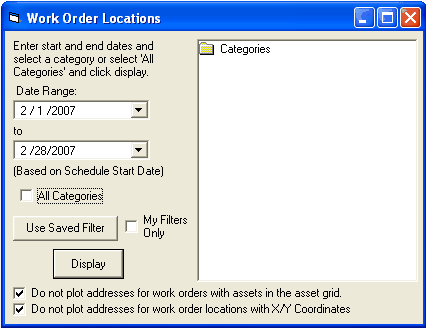
  1. To use this command, click on the View Work Locations button .  You will be prompted with a dialog asking which work orders you would like to view.

    WO Locations

    By default, the date range is for the current month.
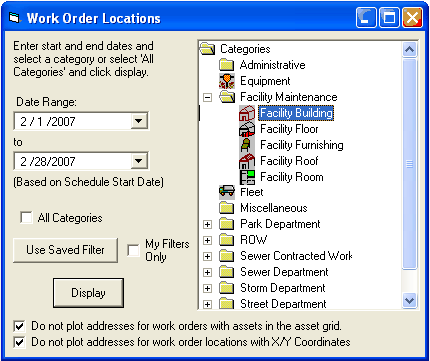
  2. If you would like to view work from one category only, you can open the category tree on the right hand side and select a category you are interested in.  For the current version of the software, selecting a category will only show work orders assigned to that specific category, not all categories beneath that category.

    WO Locations Cat

  3. If you prefer not to select a specific category, you can check the "All Categories" checkbox (Hint:  If you do not select a category, the system automatically queries all categories, so it is not required that you check this box).
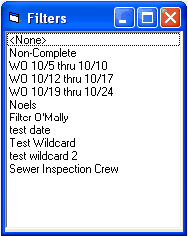
  4. Saved filters from the Work Order module Filter in Lucity™ may be applied as well.  To apply a saved filter, click on the Use Saved Filter button. To view a list of only the filters that you have created, mark the "My Filters Only" checkbox.

    Filter Selection

  5. Double click on the filter you want to apply from the list displayed.  If you want to create a new filter, open the Work Order module in Lucity GIS, then create a new filter and save it.

    Note: Advanced Filters are currently not supported with this tool.
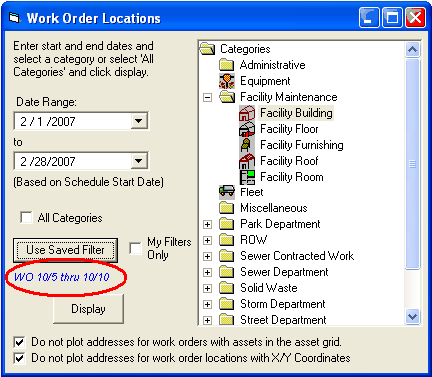
  6. Once you double-click the filter you want, it will be displayed in blue text (circled below).

    Selected Filter

  7. To remove the filter, click on the Use Saved Filter button again and double-click on "<None>", the first item in the list.
  8. The two check-boxes at the bottom of the form are largely self-explanatory.  If you uncheck them, and if you are entering your work location as an address and as an asset in the asset grid, it may look like your work is being duplicated in the map because it will draw two things:  A point for the address or coordinate point and a shape for the feature that was worked on.  This option does not affect work orders that do not have assets in the asset grid.
  9. Click "Display" and the system will display all of the work orders that meet your selected criteria.  While the system is processing, there will be a progress bar in the lower left hand corner of the map.  If you have a work order with many assets in it, you may see the progress bar pause for a bit while it processes that single work order.  Anytime there are more than 100 work orders that meet the selection criteria, you will be warned.  This is because it may take a couple minutes for it to process through all of the work orders, and this prompt allows you to cancel the processing if you choose.
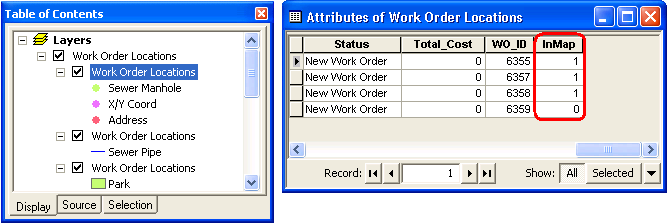
  10. Once the processing is finished, three layers (point, line, and polygon) will be added to the table of contents and will show the location of the work orders that meet the selected criteria. To change the way the layers are displayed, right click on the layer and go to the symbology tab.

    View Work Loc

See Also

View Work Locations

Viewing Crew or Resource Locations in the Map