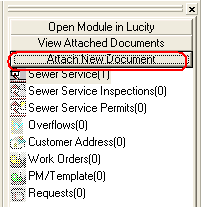
Note: Lucity will not update when using the ArcGIS Selection tool. You must use the Lucity selection tool in order for the documents to 'process'.

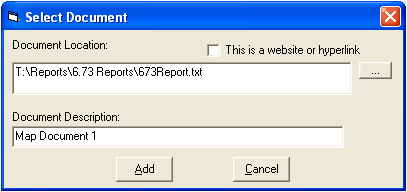
In the Select Document dialog box, left click on the button circled in red below. A new window will open allowing you to browse to the folder containing the document you wish to attach. After opening the document you will need to enter a document description in the Select Document dialog box. The document description will then be displayed in the View Attached Documents window.


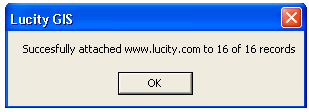
After you have entered the document description, click Add on the Select Document dialog box. You will see a window confirming that you have successfully attached your document. You may then go to View Attached Documents to see your new document.

Note: The default pixel select tolerance used with this tool is 3 pixels. To change the select tolerance, click F7 with the tool selected. The tolerance is changed for the current ArcMap session only. For additional information consult the Search Tolerance topic.