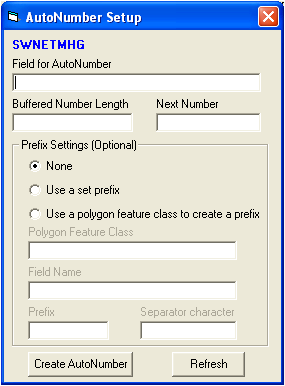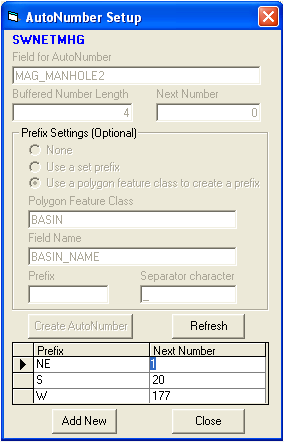
Note: The "None" button will be marked by default. If this button remains marked, you will be unable to include a Prefix for this AutoNumber field. If you are not using the Prefix Settings, skip to step 9. If you choose to use Prefix settings, complete the following steps:
- Enter a value in the Prefix field. This is required when using this prefix option.
- Populate the Separator Character. This is optional. This is the character that will be used to separate the polygon label prefix from the autonumber that is generated. For example, if "-" is entered, and if the feature falls within a polygon "area1", the resulting autonumber will look something like this: area1-001.
- Populate the Polygon Feature Class. This is required when using this prefix option. This must be a feature class of type "polygon". This polygon feature class must exist in the map when editing for this setting to work properly. Enter the feature class name with no owners or other database name or location qualifiers.
- Populate the Field Name. This is required when using this prefix option. This is the field name that contains the polygon label that is to be used in the auto-number. This may be a grid number, area number, basin number, or some other identifier. This can be a text field or a numeric field.
- Populate the Separator Character. This is optional. This is the character that will be used to separate the polygon label prefix from the autonumber that is generated. For example, if "-" is entered, and if the feature falls within a polygon "area1", the resulting autonumber will look something like this: area1-001.
