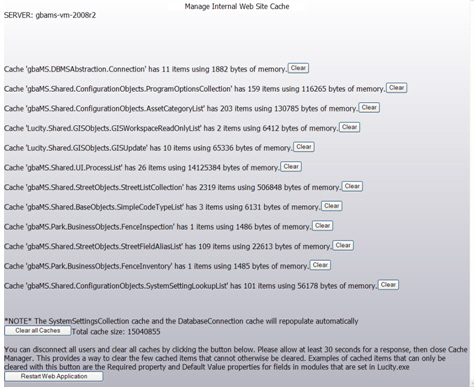
The Web product caches the data on the web sites to help improve performance. This includes certain pieces of information that change infrequently, such as the list of all problems that you have defined; however, if you add a new problem it will not initially show up in the drop down list on the web sites. In order for the new problem to appear on either the internal web site or public web site, you'll need to clear the old caches manually or wait until the caches are cleared routinely by the the system.
You should only clear the caches to allow drop down lists on the web sites to display data that was added recently.
Changes made in the field properties form of the Desktop application or any xxFields database will not be made effective by clearing the cache. These changes will be enforced only after the application pool for the Web restarts in IIS at 2:00am.
Administrators can force the application to restart by restarting IIS; however, we do not recommend restarting IIS if any users are accessing the web application as it will interrupt their sessions and they may lose whatever they were working on.
Note: Clearing the caches may temporarily harm performance until the caches are re-populated.
