The Location tab is made up of two grids. The grid on the left houses the various storage locations within the warehouse. This grid allows users to create locations within the warehouse. If there is more than one location in the warehouse they can specify which one is the default locations. This is especially useful for mobile warehouses that are integrated with Work. If a default location is selected, then the system knows exactly where to pull the inventory from when a work order is created.
The grid on the right is tied to the location grid and lists various parts that are stored in a selected location. This grid provides a count of parts, and allows users to adjust quantities and enter inventory counts.
Note: Users cannot delete a location from a warehouse if parts are associated with it or if it is a default location for any part.
Samples of the grids appear below. Sort records in each grid by clicking on the headings. An up or down arrow (highlighted in orange below) will appear signifying ascending or descending order. The functions in the grid allow user to view, add, edit, or delete the record.
Locations grid
Right - click in the grid to add a record
Right - click on an existing record to get a menu with options to View Record, Add Record, Edit Record, Delete Record, or Set As Default.
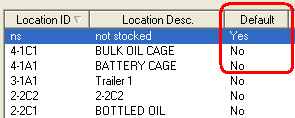
Right click on the location in the grid and select Set as Default Location.
That location will now have "yes" next to it under the Default Location column.
Note: There can only be one default location per warehouse.
Parts grid
Select a record in the Locations grid to see the parts stored there.
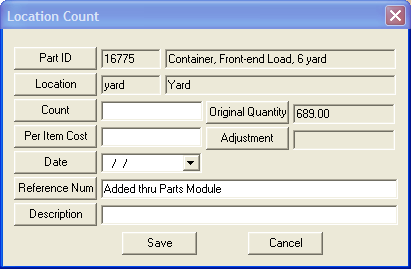
Right - click on an existing record to get a menu with options to View Part, Adjust Inventory Qty (+), Adjust Inventory Qty (-), or Enter Inventory Count.
Double - click on an existing record to open it
Note: Parts must be associated to a location from the Parts module.
Select a location from the left, then select a part on the right.
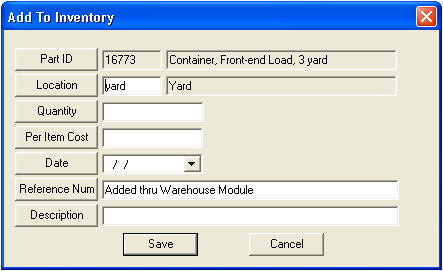
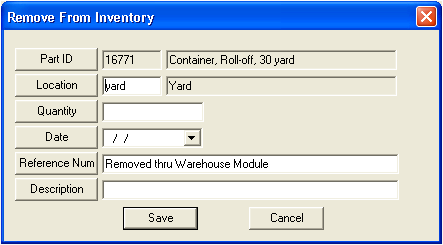
Right click on the part and select Adjust Inventory Qty (+)to add to the inventory orAdjust Inventory Qty (-) to subtract from the inventory. Depending on the option selected, one of the following windows will open:
OR
Enter the quantity to be added or subtracted. This is required.
The Part ID and Location is auto-populated.
If this is a positive adjustment, enter a Per Item Cost. This is required.
Enter a Date.
The Reference Num field is auto-populated with text (Added or Removed through Warehouse module). Change the default text as needed.
Click .
Note: The Warehouse Status Detail and Summary Reports summarize the total monetary value of each warehouse based on the number of parts in inventory. These reports are only accurate when using the Average Cost or Fixed Cost costing methods. These costing methods set costs for all inventoried parts at the time new parts are received. Thus, all parts in a given warehouse have the same cost. Alternatively, with FIFO (First In First Out) or LIFO (Last In First Out) costing methods, the system has no way of determining what parts at what cost are in a given warehouse. Due to this costing difference, parts entered using FIFO or LIFO costing methods won't allow the system to calculate an overall monetary value for the warehouse as a whole. When are using one of these costing methods, run the Parts Valuation Report for Avg/Fixed Cost and FIFO/LIFO in the Parts Inventory. These reports will provide a cost for the overall inventory.
 Add a Location
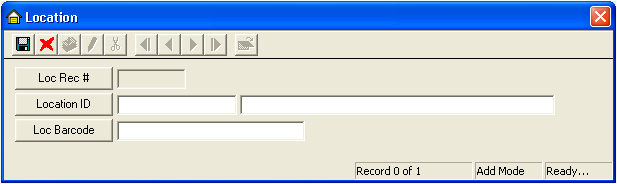
 .
.