Creating a WO in the Field

The Work Order Lite modules allow you to generate work orders containing specific data regarding the problem, the affected assets, the needed resources, and the involved tasks.

To create a work order, complete the following steps:

  1. Open the Work Order module by selecting Work > Work Orders > Lite. The following window will appear:

    New WO Lite

  2. Click   on the module toolbar to enter Add Mode.

    Note: Upon entering Add Mode, the Status field will be automatically populated along with the date and time. The Work Order # field will not be populated until after the record is saved.

  3. Enter a category. This is the only required field for work orders.

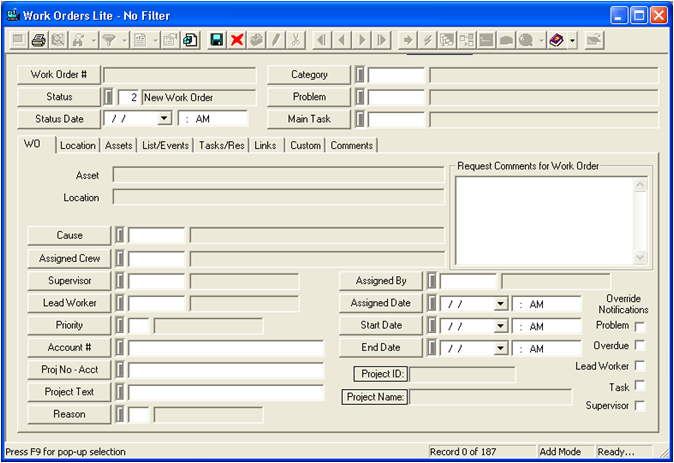
    Note: The category you select will determine which list of problems, causes, crews, and tasks are available in the rest of the work order.

  4. Select a problem, and main task.
  5. Under the WO tab, select a cause, main task, crew, supervisor, etc. These fields are optional. The Asset and Location fields are read-only fields that are auto-populated -they allow you to see at a glance the first asset and location listed in the corresponding grids.

    Note: A lead worker must be assigned to a work order if you want the Assigned Work field in the Work Flow Setup Employees module to calculate the number of assigned work hours for that employee.

    The Request Comments grid is automatically populated from the comments in the Requests module; however, you can add or edit the comments in the grid from this module.

  6. Under the Location tab, enter a department, division, etc.
  7. Under the Assets tab, enter any inventory assets associated with the work order (Right-click in the grid and select Add Record).
  8. Under the Checklist/Events tab, enter any checklist items or events (Right-click in the grids and select Add Record).
  9. Under the Tasks/Resources tab, enter additional tasks in the Tasks grid (Right-click in the grid and select Add Record).

    Note: Any resources associated with a task (in the Work Flow Setup Tasks module) will be automatically populated in the Resources grid.

  10. Enter any resources used to complete the task in the Resources grid and enter any estimated costs in the fields to the right of the grids.
  11. Enter additional information in the Custom tab.
  12. Enter other comments in the Comments tab.
  13. Click to save the work order.

    Note: Upon saving the work order, the Work Order # field will be automatically populated with the next available WO number.

See Also

Work Order Lite

Work Orders Header Data

WO Tab

Location Tab

Assets Tab

List and Events Tab

Tasks and Resources Tab

Links Tab

Custom Tab

Comments Tab

Toolkit Functions

How to Create a WO from a WO