The first step when creating your General Forms is to select Grid Types.
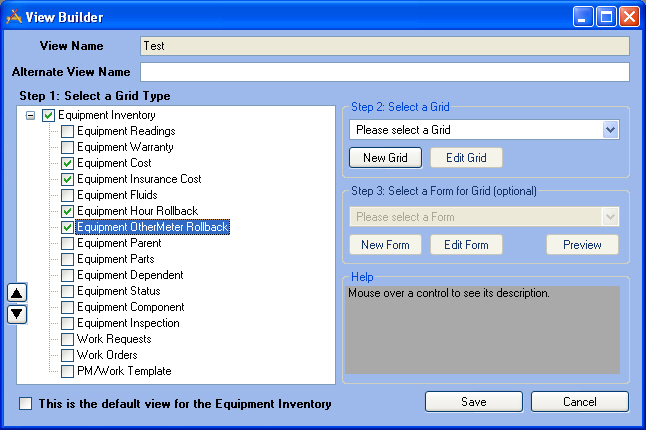
On the left-hand side of the dialog, you can see a section titled "Step 1: Select a Grid Type". This section lists all grid types available for this form. The list of available types is determined by the type of form you selected in the Form Manager.
Mark the checkboxes for each grid you would like to add to the General Form. This will create the overall structure of the web form.
In the example below, we have created a Work Order Entry Form. We've included the main parent grid for the Work Order Module, as well as child grids for Work Order Locations, Work Order Tasks, and Work Order Assets.
After selecting the types of grids, you can select specific custom Grids to add to the General Form. Complete step 2 next.
Note: You can change the order of the grids as they appear on the General Form by using the up and down arrows at the left-hand side of the screen.