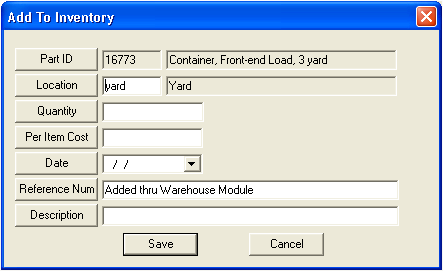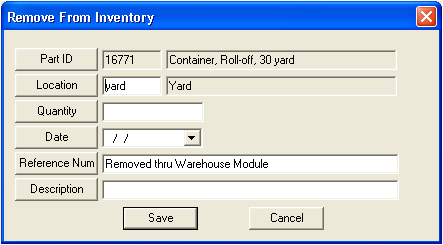
OR

 .
.Note: The Warehouse Status Detail and Summary Reports summarize the total monetary value of each warehouse based on the number of parts in inventory. These reports are only accurate if you use the Average Cost or Fixed Cost costing methods. These costing methods set costs for all inventoried parts at the time new parts are received. Thus, all parts in a given warehouse have the same cost. Alternatively, with FIFO (First In First Out) or LIFO (Last In First Out) costing methods, the system has no way of determining what parts at what cost are in a given warehouse. Due to this costing difference, parts entered using FIFO or LIFO costing methods won't allow the system to calculate an overall monetary value for the warehouse as a whole. If you are using one of these costing methods, you can run the Parts Valuation Report for Avg/Fixed Cost and FIFO/LIFO in the Parts Inventory. These reports will provide a cost for the overall inventory.