Note: This does not function in the same way as it does when creating work orders. Selecting multiple assets for work orders creates one work order with multiple assets attached. Alternatively, selecting assets for inspections creates a separate inspection for each feature selected.
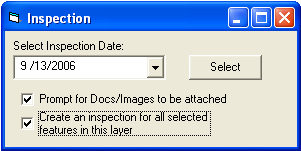
Tip: To create an inspection for more than one feature, select Create an Inspection for All Selected Features in this Layer. If you fail to choose this option, the system will only create an inspection for one of the features you selected from the Create Inspections menu.

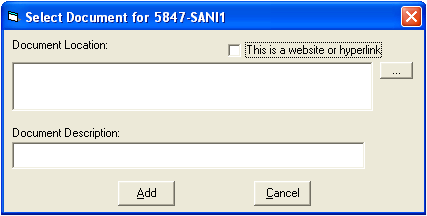
Note: If you are creating inspections for more than one feature and select the prompt to add documents, you will have the option to add a document for each feature. If you want to add documents to some, but not all of the features, you can select Cancel for the features to which you do not want documents attached. The top of the Select Document dialog box displays the feature identifier. This is the feature to which you will be attaching documents.
