When setting up Lucity, the Lucity Server should be installed in only one location*—preferably a workstation connected to the server, rather than at the server itself (except in the case of a completely local server install).
* When setting up a dedicated Testing environment it is necessary and acceptable to install another copy of Lucity Server.
Close all Windows applications before installing the Lucity software suite.
Database Setup
Locate the clean SQL Server database backups in the Lucity install media (under Database\SQL Server\Clean).
Using SQL Management Studio, restore the backups into the SQL Server.
Note: The Lucity database backup must be restored
Note: SQL Server Authentication MUST be enabled.
Create a Lucity "Share"
Before running the server installation, a new directory must be created on the file server to store connection information, reports, and other shared objects that Lucity workstations use to connect to the databases.
Create the folder on the file server. All machines that will have a Lucity product must have access to this folder.
Name the folder LUCITY_APPS or something similar.
Give all future Lucity users the following permissions for the folder: Modify, Read & Execute, Read, Write.
Share the directory.
Give all Lucity users Change and Read permissions on the share.
Note: After the Lucity Server/Database installation, this folder will contain a Config folder. The location of that folder is referenced in all other Lucity installations.
This shared folder is used in subsequent installs. Lucity recommends agencies use UNC pathing. While we support accessing this folder as a mapped drive letter, doing so means that every user that accesses Lucity must have the same drive mapped on their machine.
Install Lucity Server
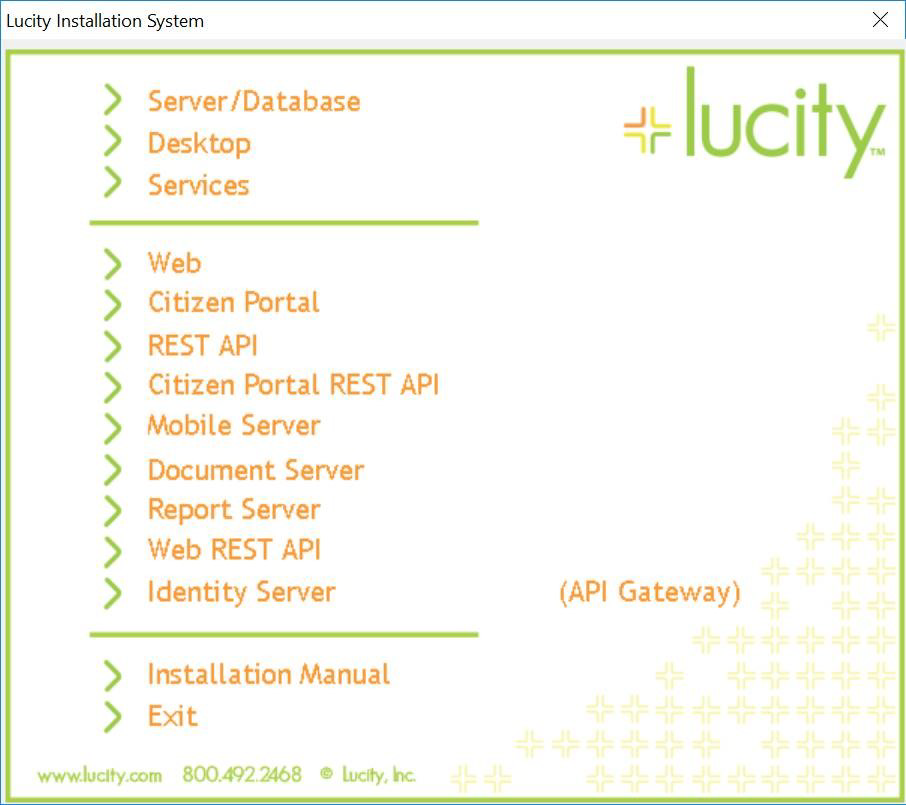
Open the Lucity install media and run Setup.exe. The following screen appears:
Note: Lucity strongly suggests that agencies run the server installation/upgrade directly on a desktop machine to ensure that the paths used during the installation/configuration processes are valid network paths.
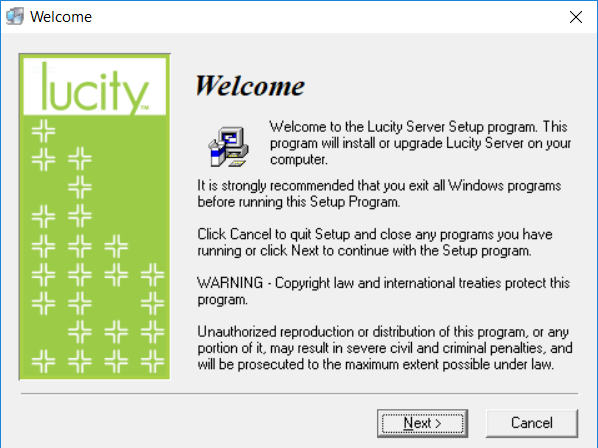
Select the Server/Database option on the menu. The following window appears:
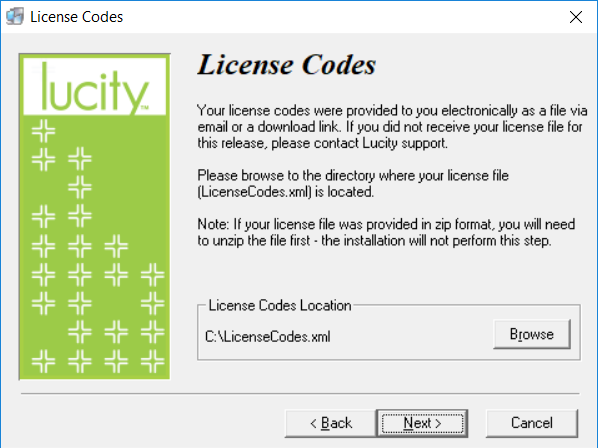
Read the Welcome screen. Click . The License Codes window appears:
Browse to the directory in which you saved the license file (LicenseCodes.xml). (The agency's license codes were provided via email as an .xml file or through a downloaded link.)
Note: If your agency did not receive a license code, contact a Lucity support representative.
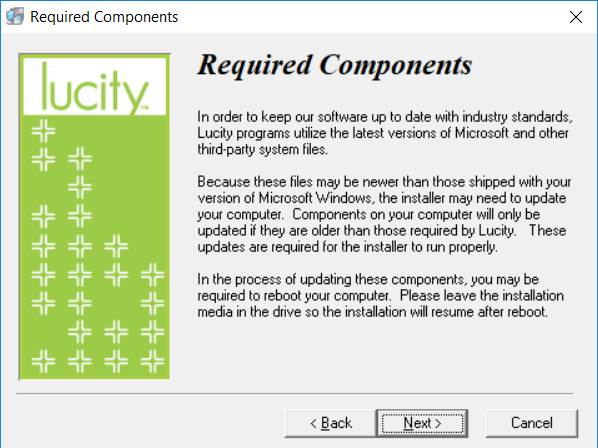
Click to continue. The Required Components screen appears.
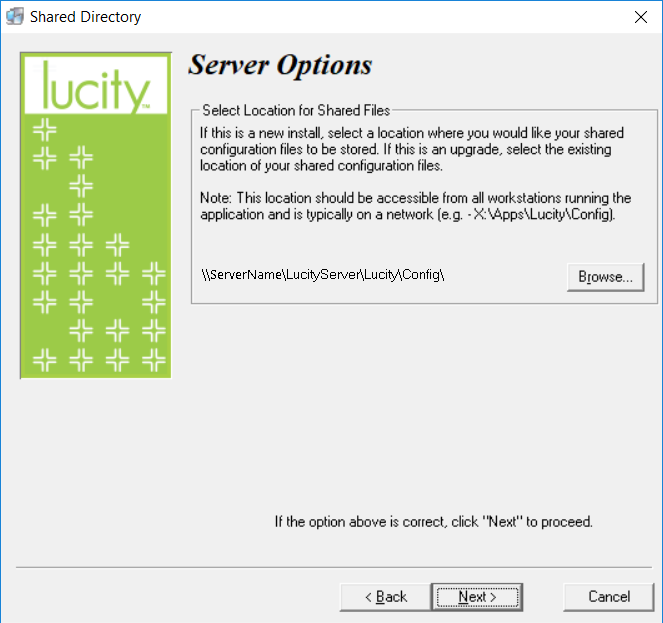
Read the Required Components screen. Click to continue. The Server Install Options screen appears:
Use the Browse button to specify the path to the Lucity Share (discussed above).
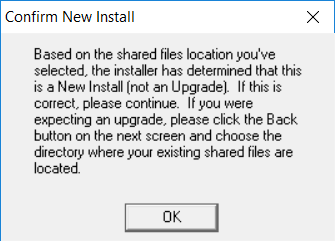
Click to continue. If the installer determines that this is a new install, rather than an upgrade (i.e., it cannot locate an existing shared file directory), the following prompt appears. Click OKto proceed.
Note: If you are attempting to upgrade rather than perform a new install, click the < Back button on the next screen to return to the Shared Directory dialog and choose the correct directory.
Click to continue. A Summary screen appears. Read the information on the screen to confirm the choices.
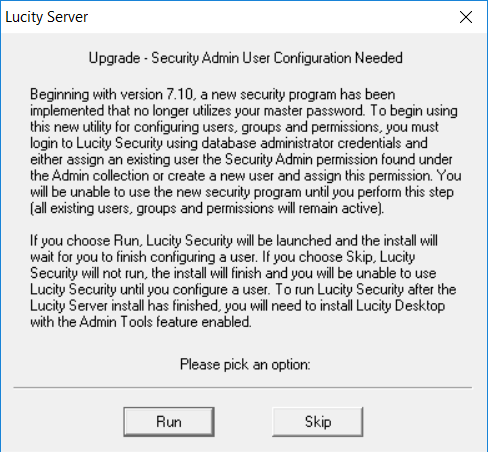
After running Client Maintenance, the following dialog appears:
Read the conditions outlined in the dialog and choose Run or Skip, depending on the status of the administrative user setup in the Lucity Security program.
The installation process will be completed after the user either:
clicks Skip or
clicks Run and makes the necessary Lucity Security changes.
 to continue. If the installer determines that this is a new install, rather than an upgrade (i.e., it cannot locate an existing shared file directory), the following prompt appears. Click OK to proceed.