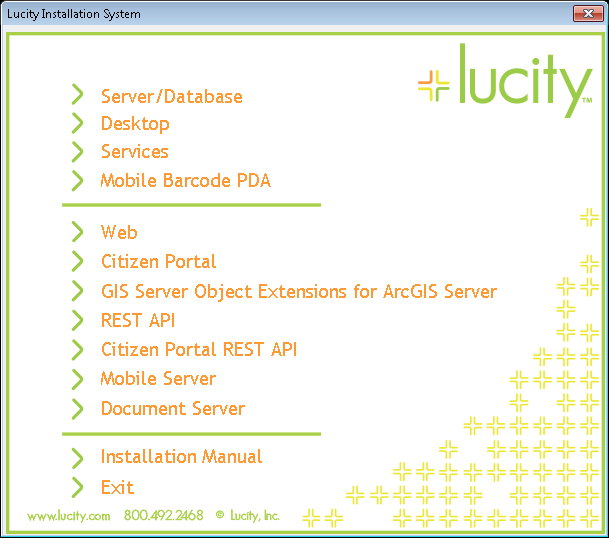
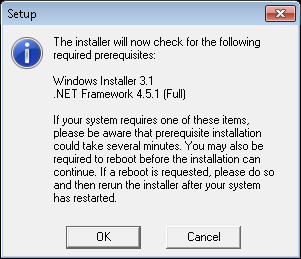
Note: You may be required to reboot the system before the installation can continue. If you do have to reboot, rerun the installer after your system has restarted.
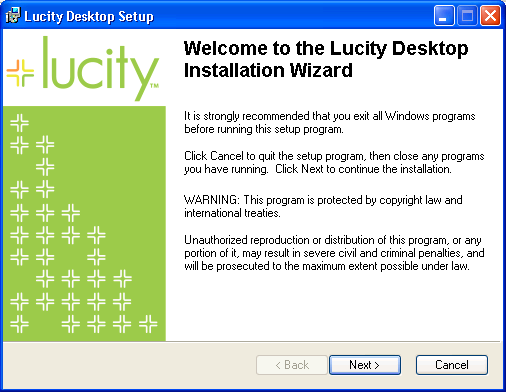
 to continue. The following window will appear:
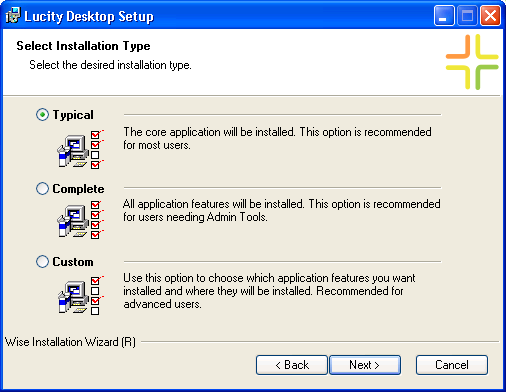
- Typical - This is the method recommended for most users. It will install all applications that the general user will need (including the Lucity Administration for the web app).
- Complete - This method installs all applications a general user needs plus the Lucity GIS Viewer and Admin Tools.
- Custom - This method allows you to customize the installation. It is recommended for advanced users only.
- If you choose Custom - the following Screen will appear:
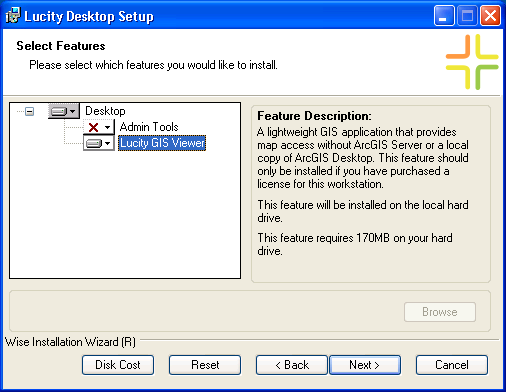
- Select which extensions to install. Clicking on an extension for an explanation of what it is.
- If you choose Custom - the following Screen will appear:
 to continue. The window below will appear:
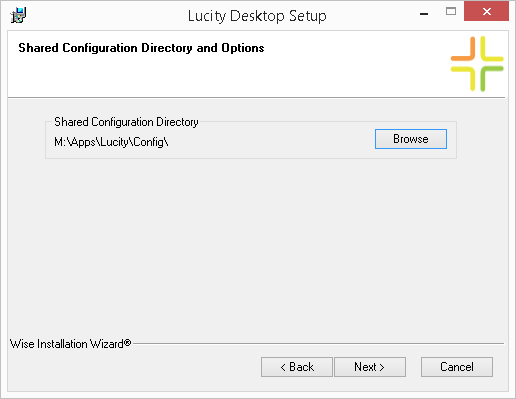
 button, select the path where your shared configuration files are located. This is typically a directory located on a network share.
 to continue. The following window will appear:
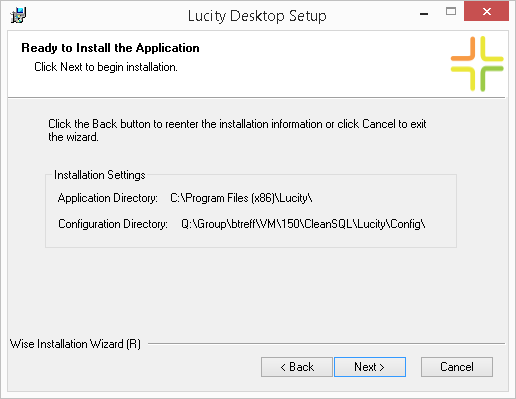
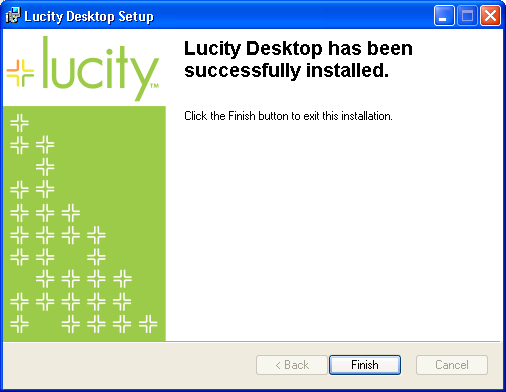
 to continue. The installation process will now begin. You will see a status bar while the features you selected are installed. This process may take a few minutes. The following window will appear when the installation is complete: