Menu
The menu helps users navigate through the Lucity programs and modules. Each of the menu items contain a series of drop-down menus to simplify module selection. After logging in to the Lucity suite, the following menu bar appears at the top of the screen:
Although the menu contains all the capabilities and programs of the Lucity suite, only those purchased will be accessible. If a user clicks on a program that the agency has not purchased, a drop-down menu will appear; however, the modules names will be gray.
Toolbars
The toolbar is designed with a button for each module within a Lucity Program. Each button has an icon that represents the related module. Hover the mouse over the button to make the module name appear.
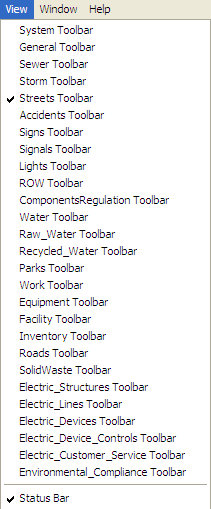
Example: Streets Toolbar

Users can view view multiple toolbars at one time and can customize each toolbar so only the buttons they use will appear on that toolbar.
Toolbar buttons that are "grayed out" are inaccessible and nothing will happen when clicked on. These "grayed out" buttons represent programs that the user already has opened, the agency does not own, or the user doesn't have permission to use.
Note: For information on Customizing toolbars go here.
 How To Access the menus