The Data Import Code Setup module allows you to correlate the type of data you collect in the field with the Lucity™ software. Code setup is a one-time process. After that, you will only use it when making code changes.
Note: Before you begin the code setup, you need to obtain a list of defect codes your observation source uses when collecting data.
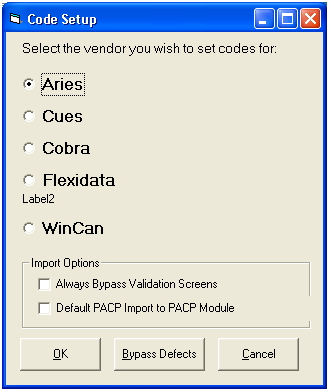
To access the Data Import Code Setup module, select Sewer > Import/Export > Data Import > Code Setup and the following screen will appear:
Select your source from the list and click ![]() . The following window will appear:
. The following window will appear:
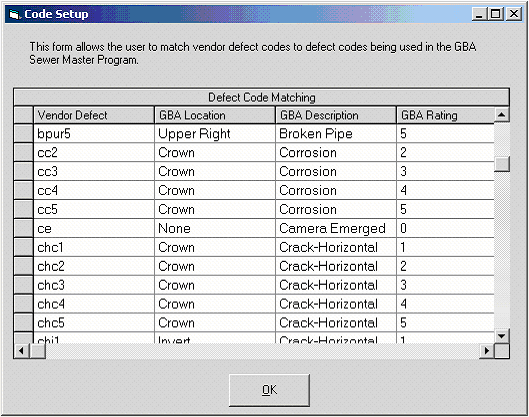
Complete the following steps to setup your code:
Note: You can use the vendor's default list of defects, create your own list, or use our list (found in the Inspection Setup module). If you do not use the vendor's default list, consult the vendor documentation on adjusting the codes.
Note: This list must match the Location pick list (found in the TV Inspections Observation tab record). You can add to this pick list by clicking on the Location field in the observation record. You do not have to use every location in the list.
Note: This list must match the defect type in the Inspection Setup module.
Note: This ratings are from the Inspection Setup module. A rating of 0 = no rating number.
Important: You must list all the vendor codes you plan to use in the code setup list.