|
Selecting Map Services
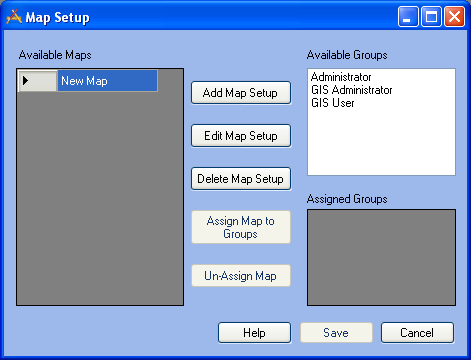
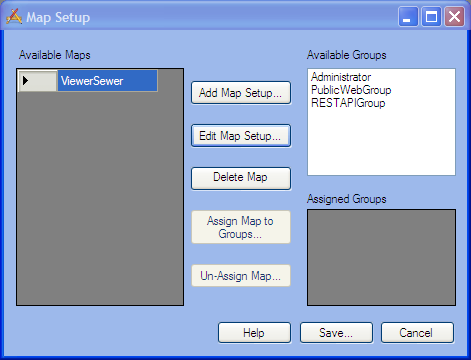
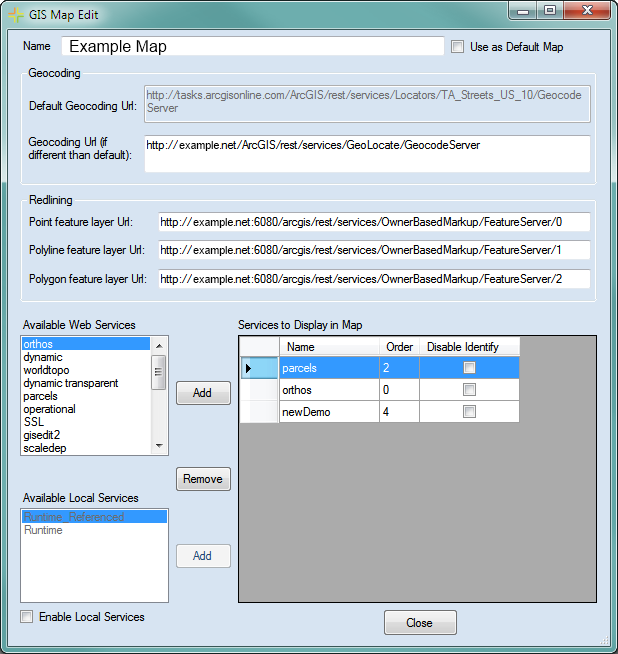
- Make sure the Map has a unique name in the Name field.
- Check the Enable Local Services box. This marks the map as a Lucity GIS Viewer map and allows the use of map packages.
- This will not disable the ability to use web services in this map too.
- Maps with this box marked will be not be usable for the webmap, or the Lucity Mobile apps.
- Check the Use as Default Map box to make this the default map.
- There can only be one default map. If there is more than one map the viewer will ask which one to use. The Default map will be at the top of the list.
- Set the Geocoding Url. - Enter a url or path here if the geocoding service used for this map will be different than the the Default Geocoding Url box. The Default Url is set in Lucity Administration under System > Settings on the GIS Web tab.
- This can be either a URL for a geocoding service, OR the path to a geocoding package (.gcpk).
- In the Available Web Services grid, select all the web services that need to be added to the map and click the Add button next to that grid. Records will appear in the Services to Display in Map grid.
- In the Available Local Services grid select all the local map packages that need to be added to the map and click Add button next to that grid. Records will appear in the Services to Display in Map grid.
- In the Services to Display in Map grid check the Disable Identify box to stop the identify tool from querying that service. Disabling Identify also disables the ability to select features in that service. Note: Users can also manually control selectability in the map.
- The order cannot be customized in this dialog; instead, set the order in the Order field under GIS > Map Services.
- Click Close to return to the Map Setup screen.
Note: Lucity Data in all layers will be recognized by the Lucity GIS Viewer, as long as the aliases are setup correctly.
|