Plugin Setup
Plugins are software components that collect and display information about the Dashboard. Plugins are contained in Frames , each of which may contain an unlimited number of Plugins.
Several types of Plugins are built into Lucity and each has a unique setup.
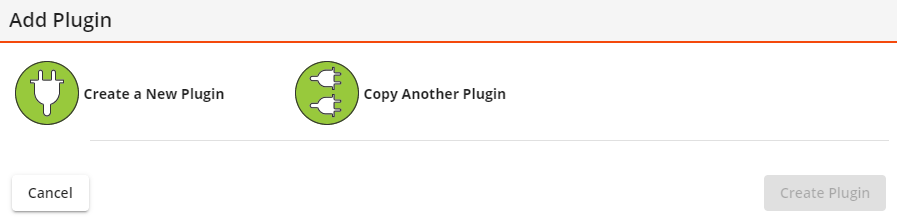
Open the Dashboard and the Dashboard Tab that you would like to edit. Click Enter Design Mode Locate the Frame to which you would like to add a Plugin . Click the Add Plugin button at the bottom of the Frame . The following pop-up appears:
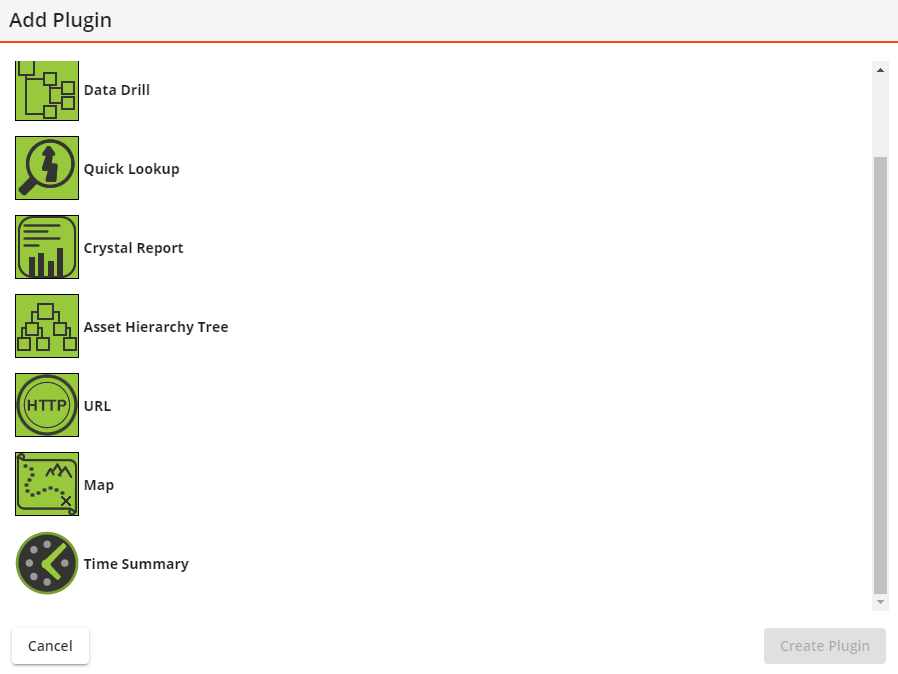
Select Create a New Plugin . The tool expands to display Plugin options.
Select the type of Plug-in you would like to create. Click Create Plugin . A new plug-in is added to the frame, and the appropriate Edit menu appears on the right. Complete the Properties fields as preferred.
Open the Dashboard and Dashboard Tab to which you would like to add a frame. Click the Enter Design Mode button. Locate the Frame to which you would like to add a Plugin . Click the Add Plugin button at the bottom of the Frame . The following pop-up appears:
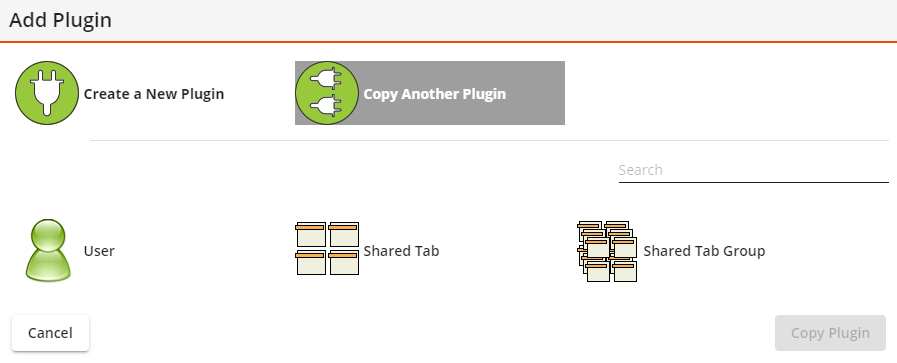
Select Copy Another Plugin . The tool expands and asks you to locate the Plugin you want to copy. Select whether the plug-in belongs to another User , is on a Shared Tab , or in a Shared Tab Group .
Continue to make selections until you have found the Plugin that you want to copy. Click Copy Plugin . The program makes a copy of the Plugin and places it in the selected Frame .
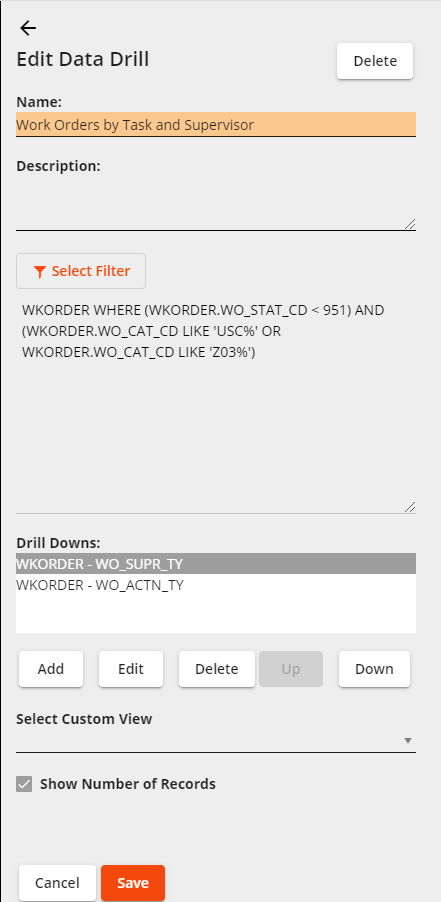
Open the Dashboard Tab that contains the Plugin you would like to edit. Click the Enter Design Mode button. Click the Edit Properties Plugin you want to edit. The Edit Plugin dialog appears:
Note: The graphic above depicts a Data Drill Plugin . The dialog will look different for each type of Plugin .
Modify the settings as desired. Click Save .
 How to add a Plugin
 .
.
 button next to the Plugin you want to edit. The Edit Plugin dialog appears: