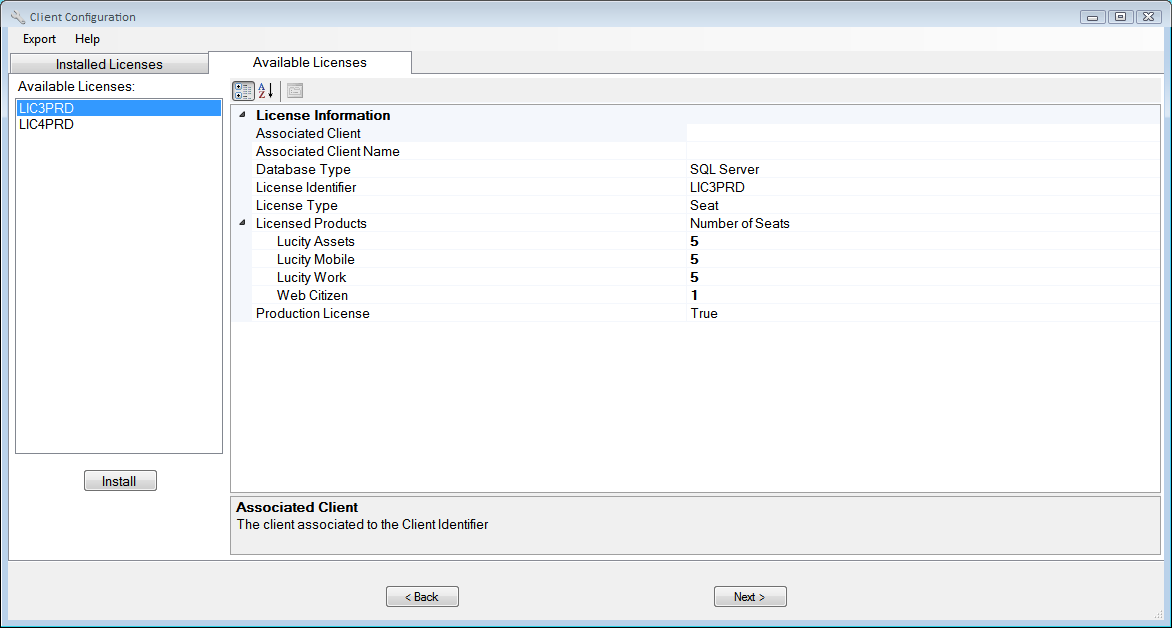
Note: Licenses marked PRD are for Production use. Licenses marked NPR are meant to establish Test or Development environments.

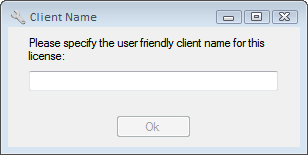
Note: The Client Name should not include special characters like - or '.

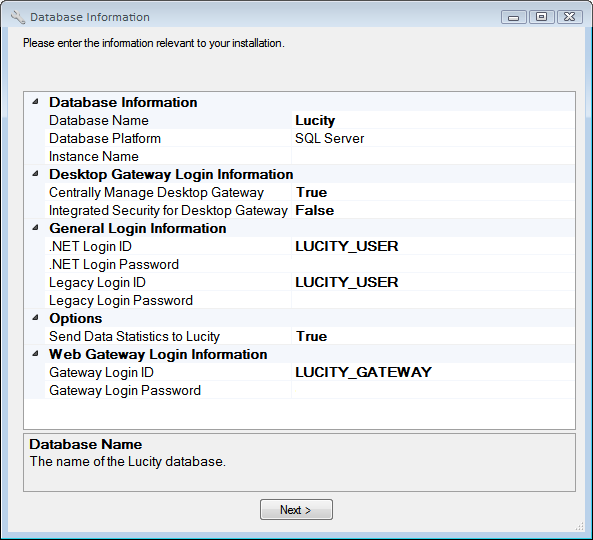
- Database Information - Specifies the location of the database(s).
- Database Name - Enter the actual name of the database to connect to.
- Database Platform - The system automatically completes this field based on the selected license file. If the platform is incorrect, contact Lucity Support.
- Instance Name - Enter the name of the SQL Server or Oracle Server instance.
- Desktop Gateway Login Information. Settings that control how login information is passed to the database. More information about Desktop Gateway settings >> (Desktop Database Connection Encryption Options, http://help.lucity.com/webhelp/v203/install/index.htm#25355.htm)
- General Login Information - Indicate the login credentials the Lucity programs should use to connect to the database.
- .NET Login ID - Enter the Login ID that any Lucity application developed with Microsoft.NET should use to connect to the database. This login information is retrieved via the Gateway Login account.
- .NET Login Password - Enter the Login Password that any Lucity application developed with Microsoft.NET should use to connect to the database. This login information is retrieved via the Gateway Login account.
Note: The .NET credentials are persisted to the Lucity database.
- Legacy Login - Enter the Login ID that any Lucity application not using .NET (older) should use to connect to the database.
- Legacy Login Password - Enter the Login Password that any Lucity application not using .NET (older) should use to connect to the database.
Note: The Legacy credentials are persisted to GBALogin.mdb in the central CONFIG directory.
- Web Gateway Login Information - Required for all clients, regardless of whether they use the Lucity Web applications. Client Maintenance uses the information provided to generate a new SQL Server or Oracle account and assign permissions for it. Changing the data in these fields (e.g., entering a new password) will update the information in SQL Server. Clients who use the any of Lucity web applications, however, must also go to each of their virtual directories and make such changes there (or re-install the Web apps).
- Gateway Login ID - Enter the Login ID required to connect to the GBAUser database to retrieve connection information for the Lucity databases. If the Integrated Security for Desktop Gateway option is set to False, both Lucity Web and Lucity Desktop applications will use this account.
- Gateway Login Password - Enter the Login Password required to connect to the GBAUser database to retrieve connection information for the Lucity databases. If the Integrated Security for Desktop Gateway option is set to False, both Lucity Web and Lucity Desktop applications will use this account.
Note: The Gateway Login Password should be at least 8 characters in length.