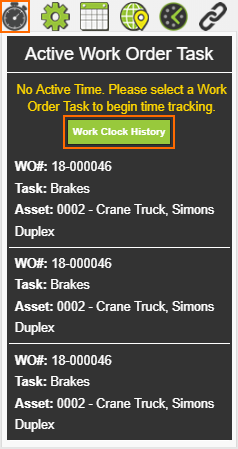
This tool displays the current task the logged in user has the work clock running on as well as the last tasks.
Work Clock
Work Order toolbar
This tool enables users to Start, Stop, and Switch running the work clock on tasks.
Running Work Clock
Work Order Task grid
This icons appears in the Work Order > Task grid next to tasks that currently have the work clock running.
Work Clock Process
Clock Start
When the Work Clock starts the following things happen:
The employee and equipment records on the task are updated:
Work Clock Status is set to 1|Clock Started.
Auto Calc Units field is enabled and made read-only so it cannot be disabled.
Units field is made read-only.
Res Start Date/Time fields are populated with the date/time that the clock started.
A Work Clock StartedWork Order Tracking record is created for each employee and equipment record that is being tracked.
Clock Stop
When the Work Clock stops the following things happen:
The employee and equipment records on the task are updated:
Work Clock Status is set to 2|Clock Stopped by User.
Res End Date/Time fields are populated with the date/time that the clock stopped.
Units field is populated based on the difference between the Res Start Date/Time and Res End Date/Time. The number may be rounded based on the Work Clock configuration.
A Work Clock StoppedWork Order Tracking record is created for each employee and equipment record that was being tracked.
Select the work order that you want to start the work clock for.
Click the button on the work order toolbar. The following pop-up will appear with a list of work orders tasks associated to the work order:
Note: Only tasks with no End Date or an End Date >= the current date will be shown.
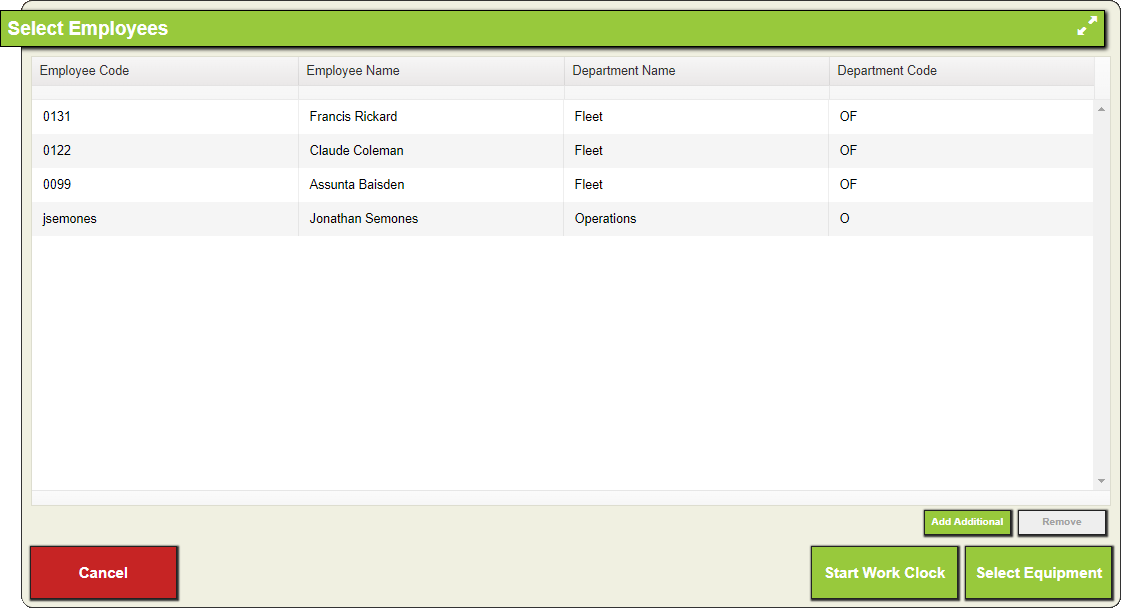
Click on the task that work is starting on and then click Select Task. The following popup will appear with the currently logged in employee and the employees already assigned to the task:
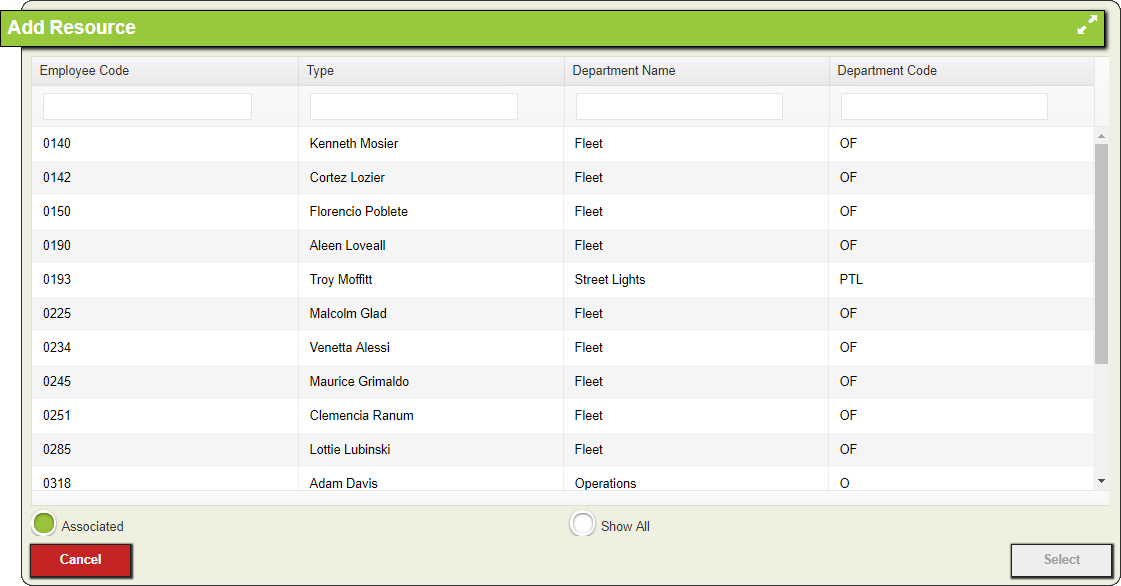
If employees need to be added click the Add Additional button. The following pop-up will appear:
Select one or more employees from the list and click Select. The employees will be added to the Select Employees screen
Remove any employees from the list that are not working on task. The currently logged in employee is assumed to be working on the task and cannot be removed.
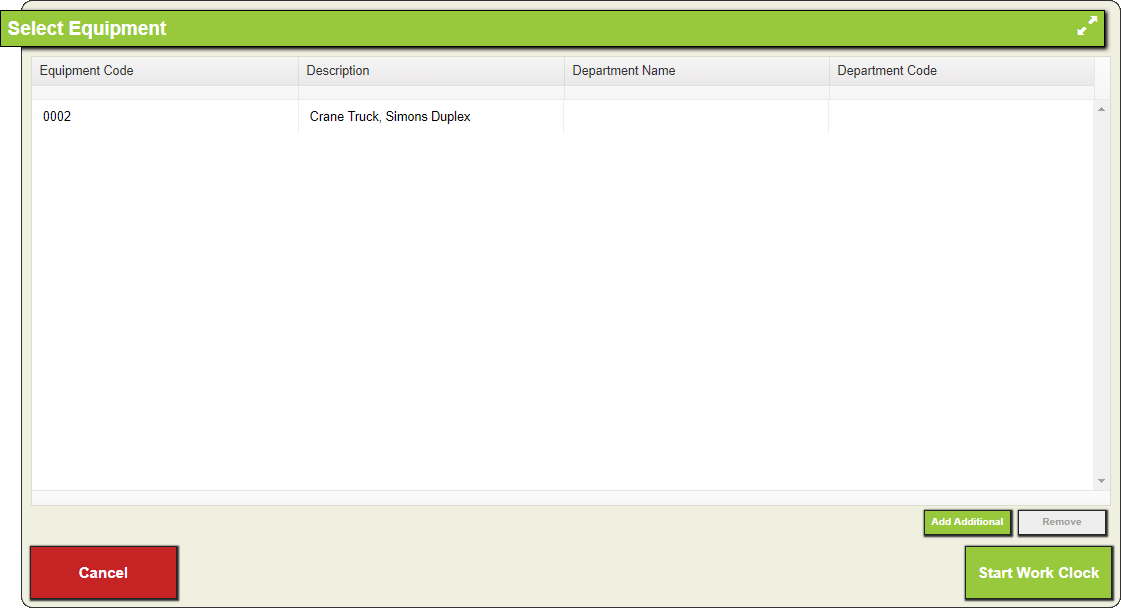
If there is no equipment to track skip to step 8 otherwise click Select Equipment. The following pop-up will appear with a list of equipment resources assigned to the task:
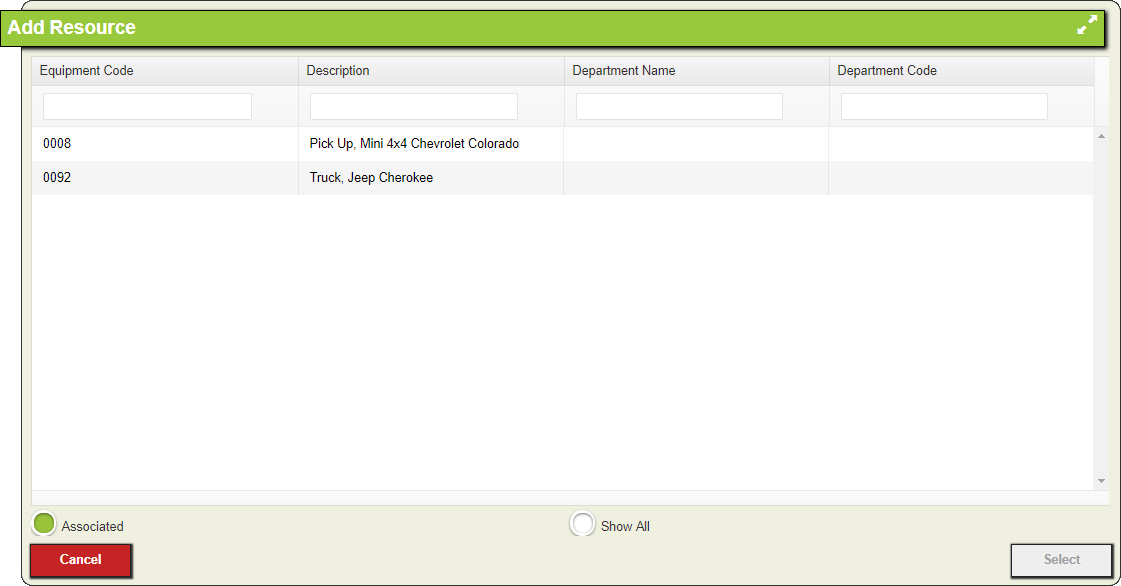
If equipment needs to be added click the Add Additional button. The following pop-up will appear:
Select one or more pieces of equipment from the list and click Select. The equipment will be added to the Select Equipment screen
Remove any equipment from the list that will not be used for the task.
Click Start Work Clock. The work clock will start for any listed employees and equipment.
Note: The work clock will not start for employees or equipment if they already have Units entered. The Work clock will instead create a duplicate resource record to track the new time. This enables users to work on a task for awhile, stop, and then come back to finish it later..
Other things that happen
The icon will appear next to the task, in the Work Order > Tasks grid, that has the work clock running.
The work task will appear under the Work Clock Status tool on the App Toolbar.
Select the work order that you would like to switch the work clock to.
Click the button on the work order toolbar and select Switch. The work clock will stop for the previous work task and the following pop-up will appear with a list of other tasks associated to the selected work order:
Note: Only tasks with no End Date or an End Date >= the current date will be shown.
Click on the task that work is starting on and then click Select Task. The following popup will appear with the currently logged in employee and the employees already assigned to the task:
If employees need to be added click the Add Additional button. The following pop-up will appear:
Select one or more employees from the list and click Select. The employees will be added to the Select Employees screen
Remove any employees from the list that are not working on task. The currently logged in employee is assumed to be working on the task and cannot be removed.
If there is no equipment to track skip to step 8 otherwise click Select Equipment. The following pop-up will appear with a list of equipment resources assigned to the task:
If equipment needs to be added click the Add Additional button. The following pop-up will appear:
Select one or more pieces of equipment from the list and click Select. The equipment will be added to the Select Equipment screen
Remove any equipment from the list that will not be used for the task.
Click Start Work Clock. The work clock will start for any listed employees and equipment.
Note: The work clock will not start for employees or equipment if they already have Units entered. The Work clock will instead create a duplicate resource record to track the new time. This enables users to work on a task for awhile, stop, and then come back to finish it later.
Other things that happen
The icon will appear next to the task, in the Work Order > Tasks grid, that has the work clock running against and will not appear next to the old task.
The new work task will appear under the Work Clock Status tool on the App Toolbar.
The old work task will appear under the Work Clock Status tool on the App Toolbar under the Work Clock History button.
This toolkit is focused on supervisors who want to stop clocks that their employees possibly forgot to stop. The supervisor would most likely set up a data drill with all active clocks and then use the toolkit for current filterset to stop the clocks.
Use thetool to create a filter for the records in the Work Orders grid in which you want to stop the Work Clock.
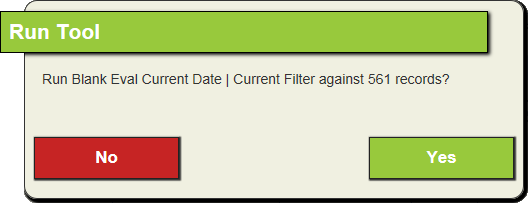
Click the button and select Stop Work Clock | Current Filter. A prompt similar to the following indicates the number of records that will be affected by the action:
Click Yes. The following pop-up will appear:
The tool runs and the clock stops. The Work Clock Status in the resource record changes to "Clock Stopped by User," and the Work Clock icon next to the resource record disappears.
This toolkit is focused on supervisors who want to stop clocks that their employees possibly forgot to stop. The supervisor would most likely set up a data drill with all active clocks and then use the toolkit for current filterset to stop the clocks.
Select one or more records in the Work Orders grid.
In the Tasks grid, select one or more valid Task records where you want to stop the Work Clock. The toolkit requires at least one selected record to run. In order for the Task to be considered valid, the End Date must be blank or the End Date must be today's date or a future date. The toolkit will not show up with an invalid task.
Click the button and select Stop Work Clock | Selected Record(s). A prompt similar to the following indicates the number of records that will be affected by the action:
The tool runs and the clock stops. The Work Clock Status in the resource record changes to "Clock Stopped by User," and the Work Clock icon next to the resource record disappears.
Special Situations
Special Situations
Work Running into Overtime - The time clock only works with a resource units Normal time fields. If an employee is working and the go into overtime they will need to stop the work clock and then restart the work clock. They can then set the Time Cost on the new resource record to overtime.
An employee leaving work before the task is done - When you start the work clock it is started for all employees on the work task. If an employee has to leave that task mid way through but the rest of the employees are continuing to work on the task there are a couple of ways to handle it.
Stop the work clock and restart it with only the employees that are still working on it.
Let the clock continue to run and have a supervisor/administrator edit the employees resource record later to indicate the time that they left.

 How to Switch Tasks in the Work Clock
 button on the work order toolbar. The following pop-up will appear with a list of work orders tasks associated to the work order:
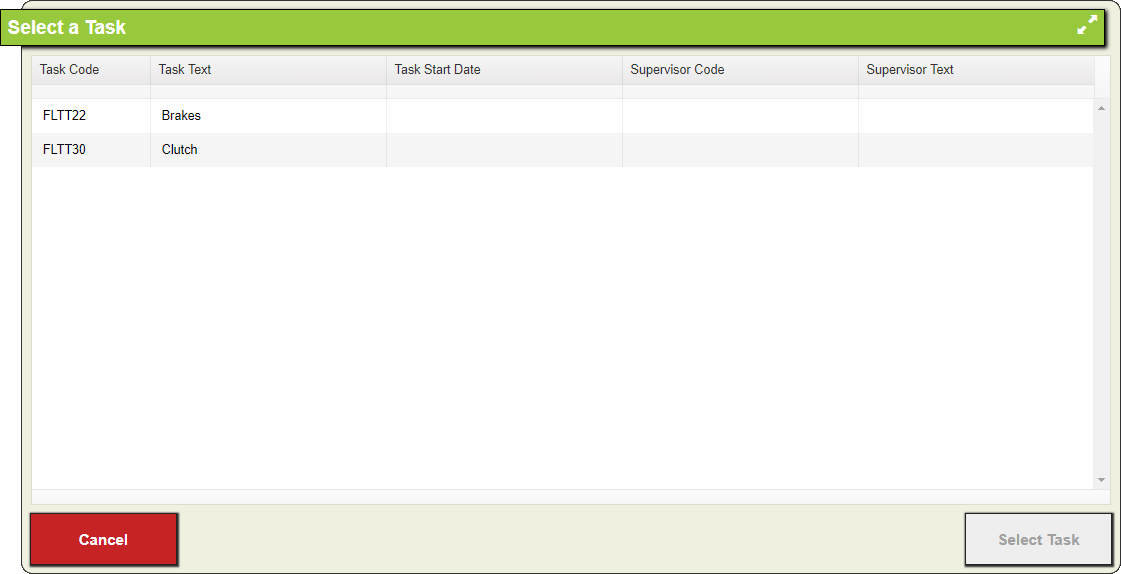
 icon will appear next to the task, in the Work Order > Tasks grid, that has the work clock running.
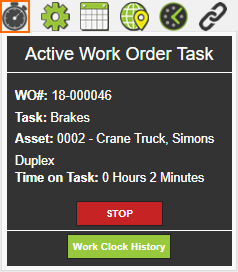
 tool to
  button and select Stop Work Clock | Current Filter. A prompt similar to the following indicates the number of records that will be affected by the action: