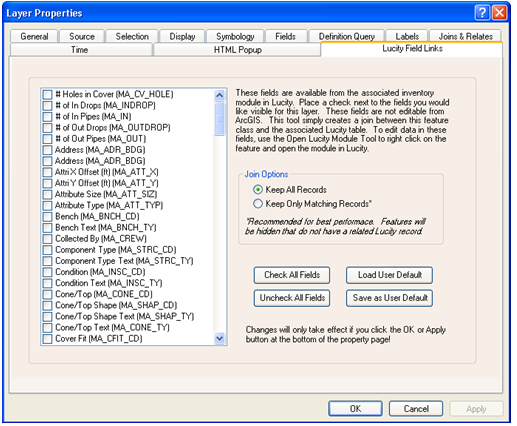
- Check All Fields- Automatically selects all of the fields.
- Uncheck All Fields- Removes the check next to all fields.
- Save as User Default- Saves the fields that are checked as a user setting in the database. The next time this tool is used, the user can simply load the previous setting.
- Load User Default- Loads the previously saved default set of fields.
- Keep all records- Retains all records in the feature class visible even if there isn't a matching record in the desktop application.
- Keep Only Matching Records- Displays only features that have a matching record within Lucity Desktop. Features that do not exist in the Desktop will not appear in the feature class.
Note: Fields that are joined from Lucity cannot be edited in Arcmap. To remove the join, go to the map's table of contents and right-click on the feature class. Select Join and Relates > Join > Remove Join and choose Lucity join.