Click the button on the toolbar. The list of available fields appears.
The fields available depend on which program, module, and component was selected in the Form Manager.
If the default field names have been changed in the Desktop, the custom names appear in this list.
Select one or more fields in the list.
Each field can be added to a form only once; any field already added to the form will not appear in this list.
When a field is highlighted, a brief description appears at the bottom of the dialog. The description displays the field Name, Component Type, and default Lucity Caption.
Note: Click the FieldNames or Captions button to toggle how fields are identified in the list.
Click the OKbutton to close the list of fields and add the selected fields to the Form Preview.
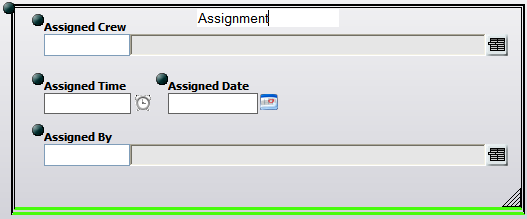
The system places the fields on the form in the order in which they were selected.
Note: If secured fields have been added to a form (e.g., Employee's hourly rates), only users with rights to view secured fields will see them. These rights are granted in the Security.exe.
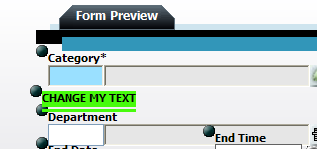
Note: Fields that are required in the Desktop application (such as Category on Work Orders) will be forced onto the Web form by the Lucity Administration for Web Apps. Such fields cannot be removed; however, they can be hidden using the Component Property settings.
Several types of fields have additional special functions (knowledge base, scripts, etc.). These fields are described in the following topics.
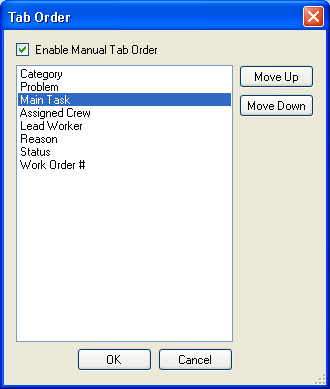
Click the button on the toolbar. The following dialog box appears, listing all fields currently included on the Form.
Select the Enable Manual Tab Order checkbox.
Highlight individual fields in the list and click the Move Up or Move Down to change the tab order.
Click OK when the changes are complete.
Note: The default tab order for fields in Forms is assigned by the system in a left-to-right, top-to-bottom manner. The system takes into consideration the placement of fields within frames, meaning that users can tab through all of the fields in one frame before the tab order shifts to a second frame.
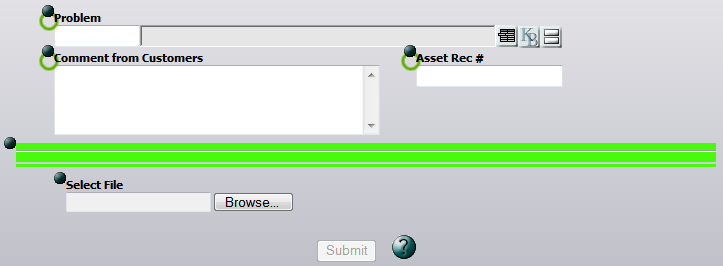
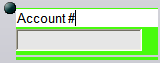
Select the item to remove. The currently selected item appears highlighted in bright green.
Click the button to remove it. [Can the action be undone?]
Note: Fields that are required in the Desktop application cannot be removed. The Remove button is disabled when such a field is selected. However, such a field can be hidden.
In the program menu, go to Forms > View/Form Manager.
Use the three drop-down fields at the top of the View/Form Manager to identify the module to which you want to add the signature template.
Select the module view in which you would like incorporate the Signature. The View Builder appears.
In Step 3 of the View Builder, select the form to which you would like to add the Signature and click Edit Form. The Form Editor appears.
Note: A module could contain multiple forms; make sure to select the intended form.
Using the Form Details button in thetoolbar, expand the Form Details pane.
Click the button at the top of the editor.
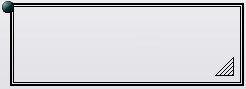
A Signature Field appears in the field list in the top-left frame.
A dot representing the attached Signature Template appears in the main pane, at the very bottom of the form. The Signature field will not appear on the functional form; so, the location of the dot is irrelevant.
Select Signature Field in the top-left pane. The properties for the field appear in the bottom-left pane.
Click in the SignatureConfiguration drop-down to select an existing Signature template from the Signature module.
Repeat this process to add any additional Signatures.
Save changes to the form. The Signature Template is now attached to the form, and, wherever the form appears in Lucity Mobile, users may collect that Signature.
 How to show/hide the Form Details
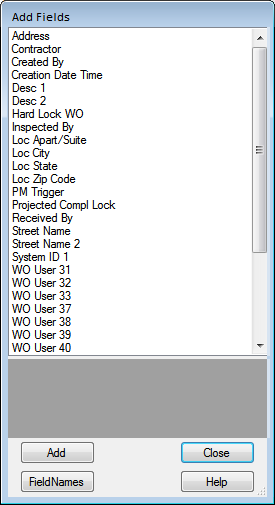
 button at the top of the editor.