After views have been created they must be assigned to Lucity Security groups so that the users in those groups will be able to see them. Note, that this setup only controls access to the view, it does not control access to the Web Maps that the view displays. This access must be configured seperately.
Each Group can have access to multiple views.
How to Assign Groups to a View
Open a GIS View for editing.
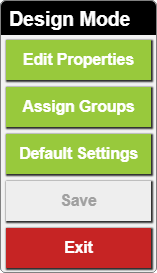
In the web map click the button. The Design Mode pop-up appears:
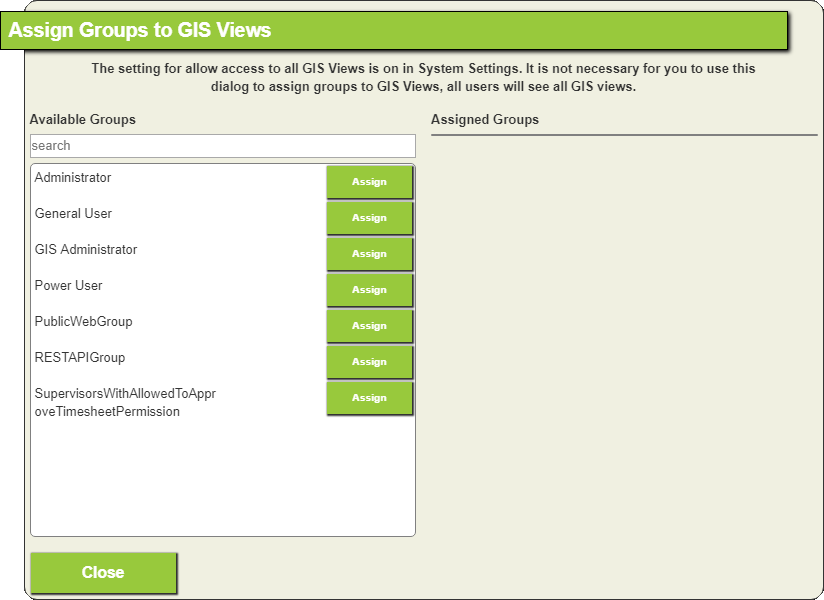
Select Assign Groups from the pop-up. The following screen will appear.
The left side of t he screen contains a list of Available lucity security groups. You can type in a group name to search through this list.
The right side of the screen diplaysa list of Assigned lucity security groups that are currently assigned to the map.
In the Available Groups list locate the group you want to assign and click the Assign button.
The group name will be moved fom the Available Groups Column to the Assigned Groups column.
All users in the selected groups will now have access to the Lucity GIS View.
 button. The Design Mode pop-up appears: