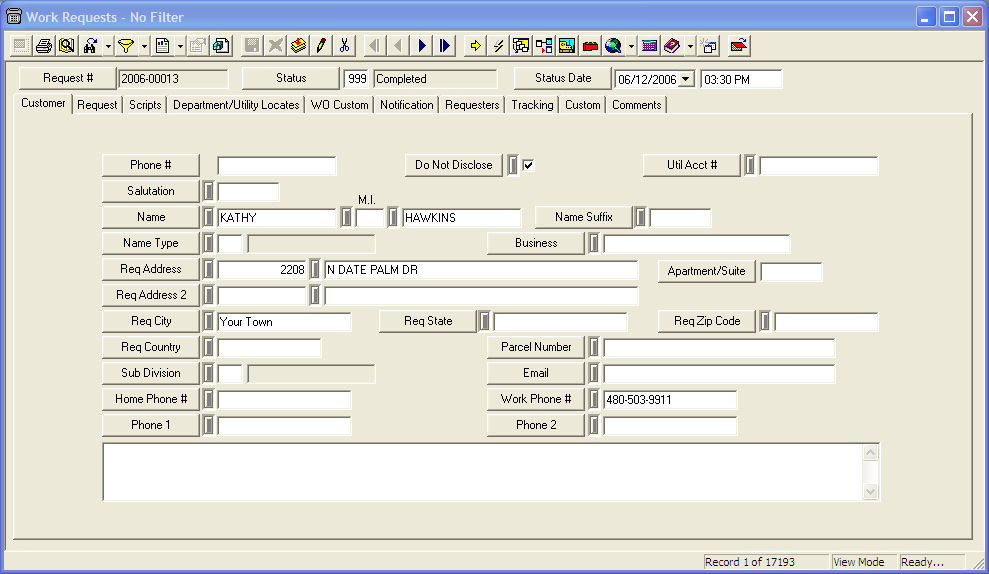
- Open the Requests module by selecting Work > Requests. The following window will appear:
- Click
 on the module toolbar to enter Add Mode.
 Note: Upon entering Add Mode, the Status field will be automatically populated along with the status date and time. The Request number will be populated after the record is saved.
- Under the Customer tab, enter the phone # of the customer. Since the software uses this field to check for duplicate requests or contacts, it is import to populate this field.
Note: For the software's search functions to properly work, you must use a consistent format when entering phone numbers (e.g. 111-123-4567).
Enter the customer's address and other necessary information.
Note: This address may be different from the location of the problem.
- Under the Request tab, enter an explanation of the problem/complaint by populating the Category and Problem fields.
Note: The Category you select will determine the list of available assets for the Affected Assets field, as well as the associated Problems and Causes available for selection.
Enter the address/location of the problem.
Select an affected asset. Only assets associated with the selected category will be available in the pick list.
Note: If you choose an affected asset, the request will then be associated with that asset's inventory record via the Relationship button.
- Under the Scripts tab, enter any questions that need to be asked of the customer.
In the Information for Work Order grid, enter additional notes you want carried over to the work order.
- All data entered under the WO Custom tab will be carried over to the work order Custom tab.
- Under the Notification tab, enter any owner information. The Notification grids allow you to log when communication occurred and add additional comments.
- Under the Requesters tab, log additional complaints from different customers regarding the same problem.
- Under the Tracking tab, associate any other requests or existing work orders with the current request. The bottom grid is a read-only grid that documents activities for the request, such as when a work order was created or when another request was associated with it.
- The last modified date and the last user to modify the record are recorded in the Custom tab.
- Enter additional comments in the grid under the Comments tab.
- Click
 to save the request. The request number will be automatically populated after the record is saved.