Note: Only tasks marked as "Main Task" in the Header are available for selection as Resulting Tasks.
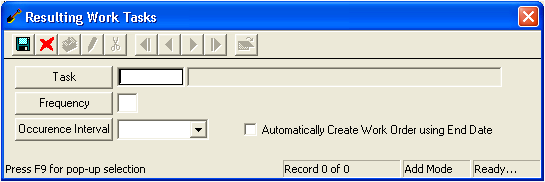
Select the Occurrence Interval from the drop-down list. This is the duration of time (hours, days, weeks, months) between when the original work order was completed and the resulting work order will start.
Note: The Frequency and Occurrence Interval fields work together to create a schedule. For example, if the task is swimming pool cleaning, you may select a Frequency of "3" and an Occurrence Interval of "Weeks". Using this schedule, the pool would be cleaned every three weeks. If you mark the "Automatically Create Work Order using End Date" checkbox, whenever a work order using the parent task is closed a work order will automatically be generated with a start date three weeks after the original Work Order's end date.
Note: The end date is the actual completion date of the work order (listed in the Work Order module, WO tab).
 to save the record.
 to close the window.