 on the module toolbar. A screen similar to the following will appear:
To access the reports feature, click on the module toolbar. A screen similar to the following will appear:
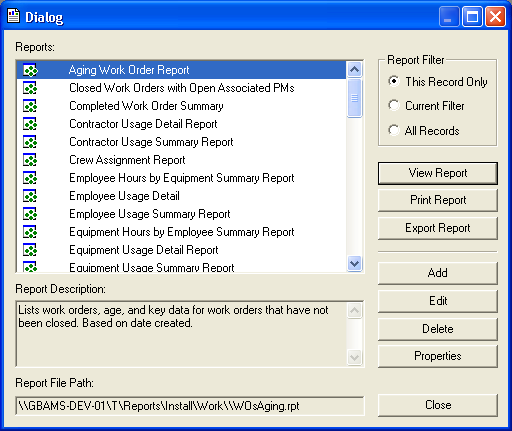
 to preview it. This allows you to see the data included in the report prior to printing it. You can then select
  to print it. (You can also export or email a report).
Note: When a related module is launched using the Relationship button, reports do not work with the current filter. The option to print reports for the filtered dataset will print the entire record set. Instead, you'll want to print the current record only.
Note: When you are setting filters on logicals and running reports, you'll need to watch out for one potential problem. If you have set the Selected Logical equal to -1 (for True) and the report does not show any data, you'll need to instead set the filter (for the logical) to where it Is Not Equal to 0 (giving you the same results). This will produce a report with data.