Using the Set Elevations Tool

  1. To access the Set Elevations tool, select Sewer > System Tools > Set Elevations and the following window will appear:

    Set Elev

  2. Enter a date and time to start the elevation reset. Depending on the number of records in your dataset, this tool may take some time to process. This feature allows you to tell the program when to start performing the analysis should you wish the process to be conducted after-hours.

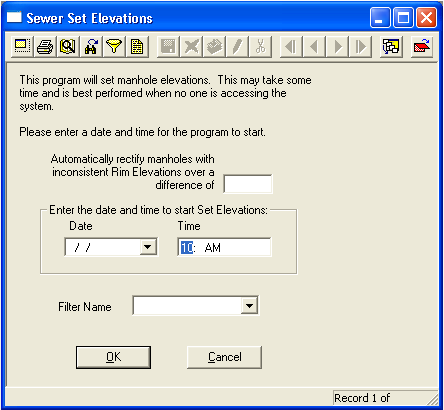
    Note: If conducting the analysis after-hours, remember to leave your computer turned on and logged into the desktop. It is best if other users are not logged into the database while the Set Elevations tool is running.

  3. Select a filter name from the list of saved filters in the Pipe Inventory module. This allows you to limit which records will be processed by this tool and which will be skipped.

    Note: If no filter is selected, this tool will process all records in the Pipe Inventory module. For this reason, you'll find a locking flag on the Elevations tab (Active Elevations grid). When this flag is activated, the Set Elevations tool will NOT recalculate the elevations for that particular record.

  4. Click OK to begin the analysis.