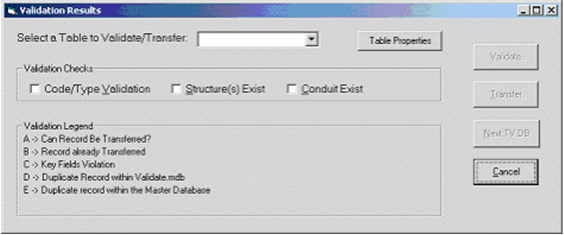
Once the TV inspection file is imported, the Validate &Transfer program checks the data and moves it into the primary database. The following window will automatically appear once the initial import is complete:

When performing a TV import, you do not have to select the tables you want validated. The system automatically takes you through the validation process in the necessary order. The first table in the validation process (SWNETMH) will appear in the dialog box at the top of the screen.
 . The validation process will begin.
 Note: The validation process may take some time. The more validation options selected, the longer the process will take.
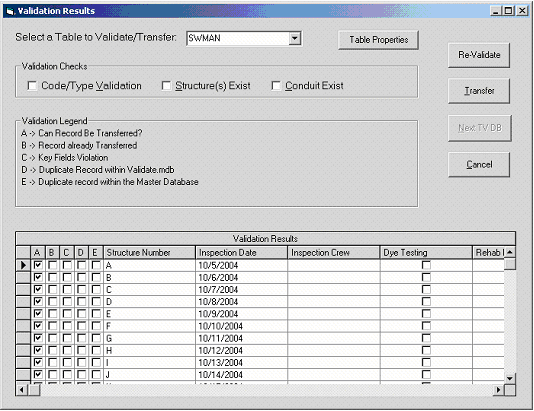
Once the validation process is complete, the results will be displayed on a screen similar to the following:

The results are shown in the checkboxes to the left of each record. The legend at the top of the window explains the results of each type of validation.
Note: Column "A" must be checked for a record to be transferable. See modifying validated records for more information.
Some of the tables for TV Inspections have their own validation legend. Click here for more information.
 once the validation is complete.
 to move on to the next table.
 Note: This button can also be used to skip a table in the validation process.